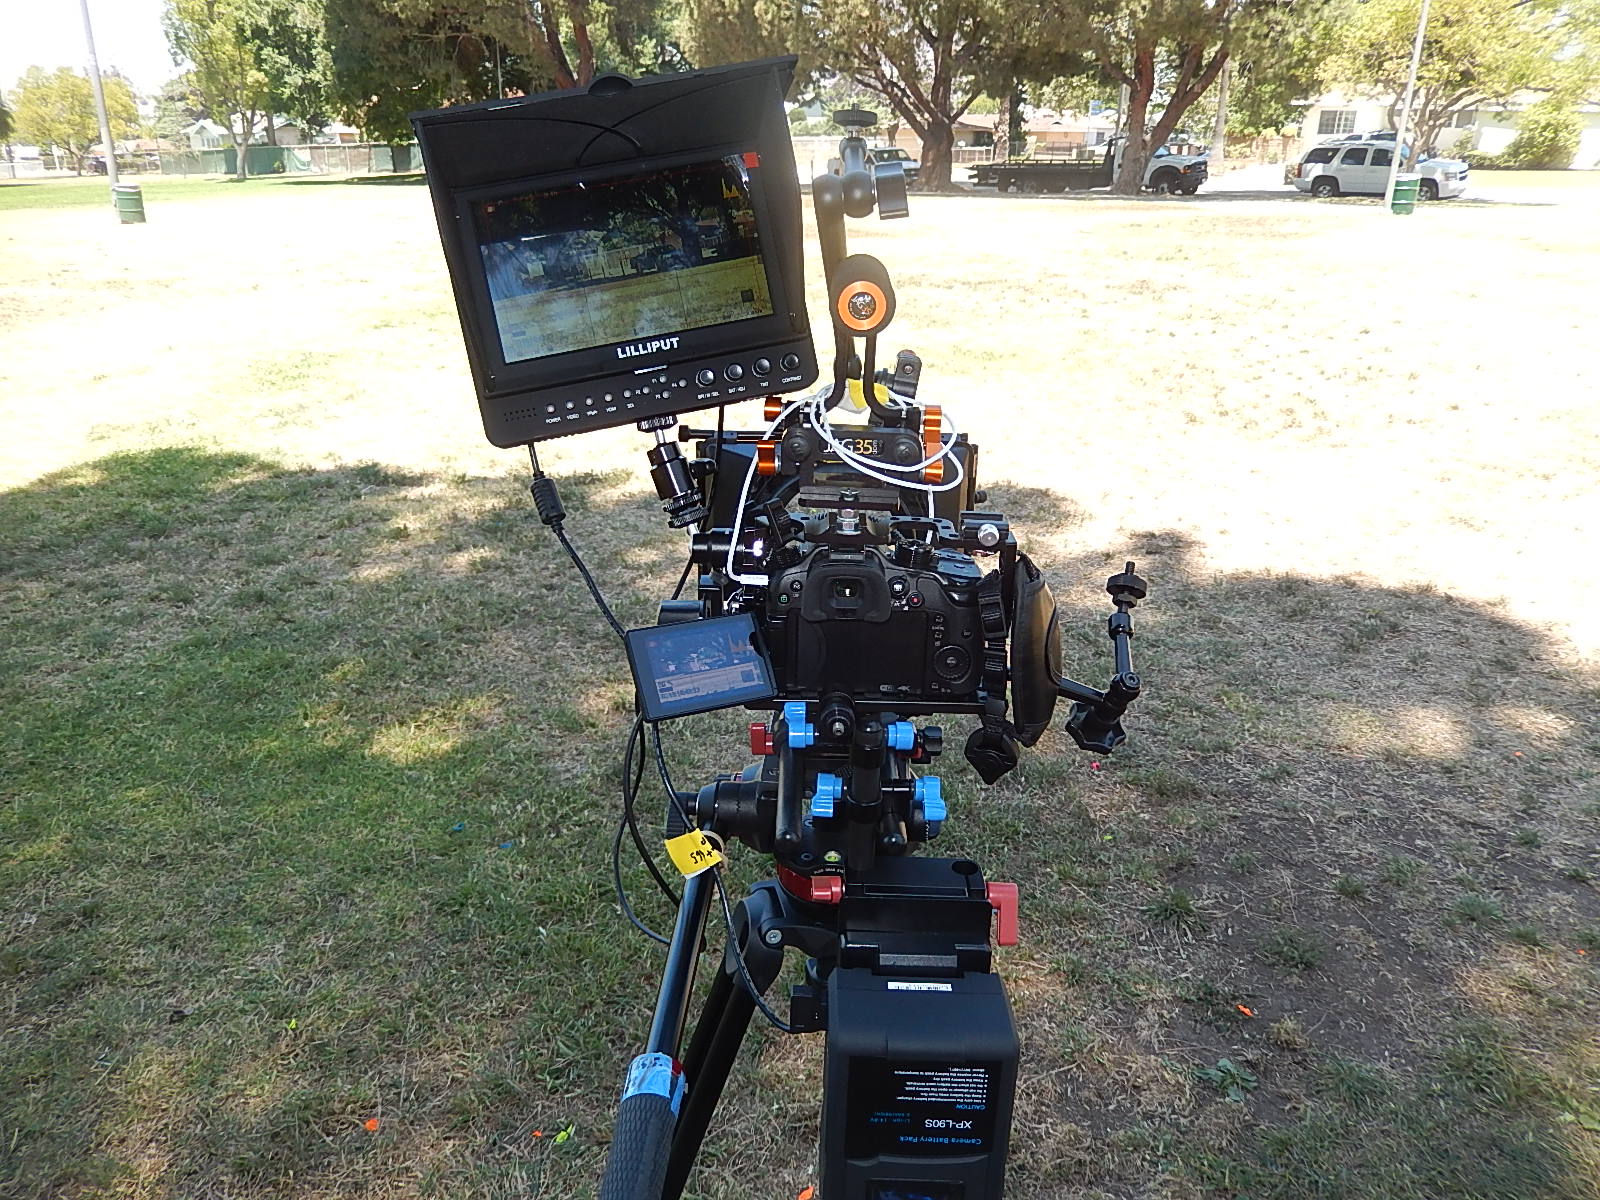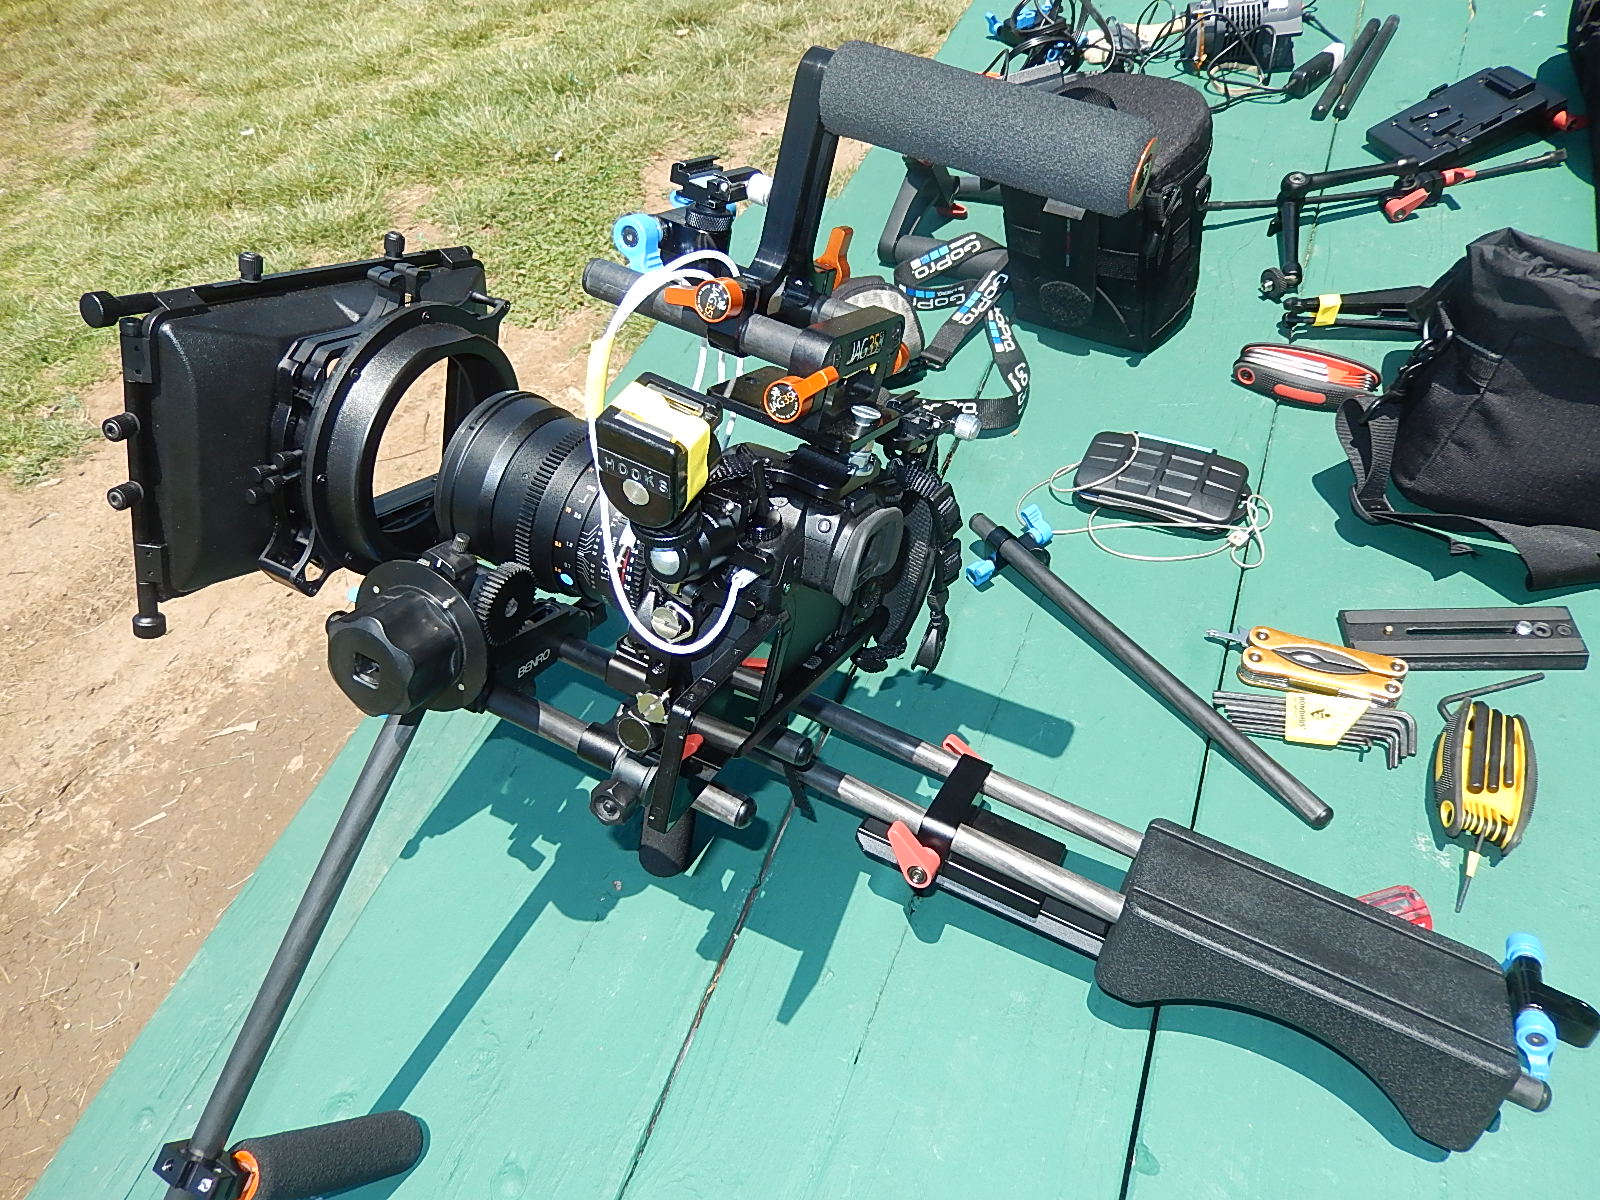
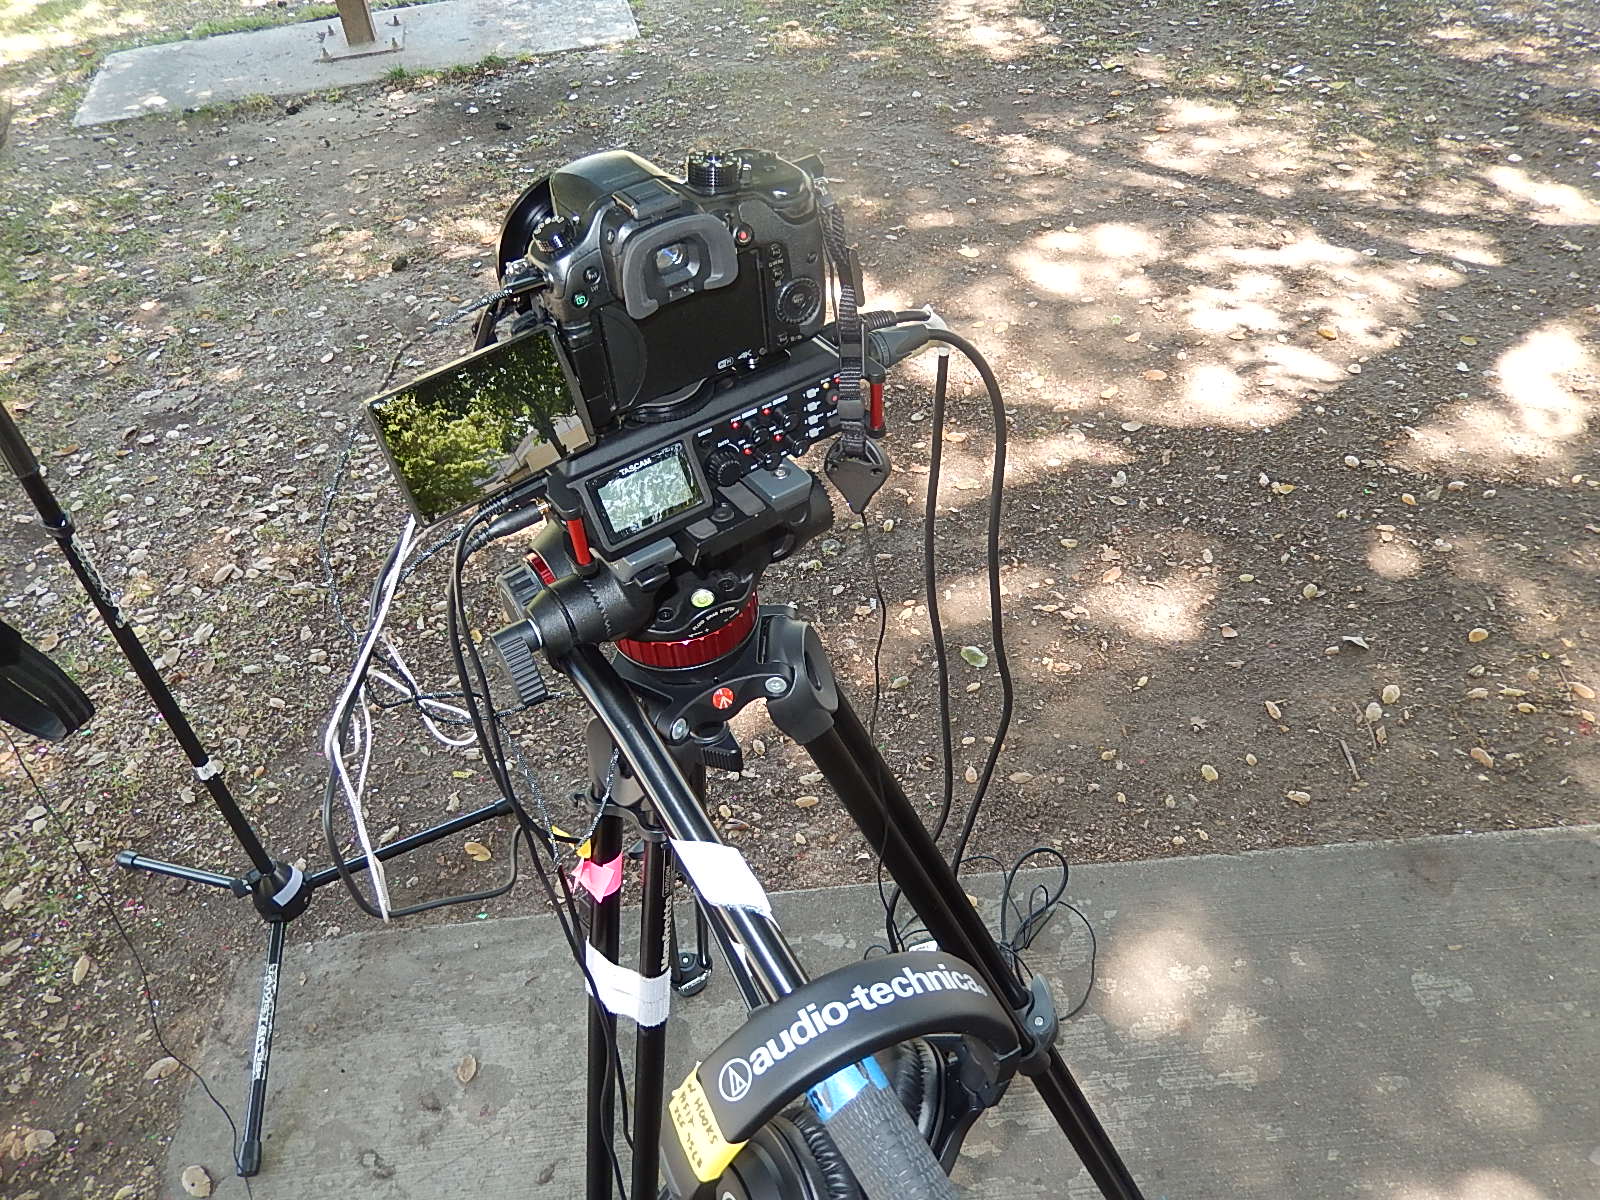
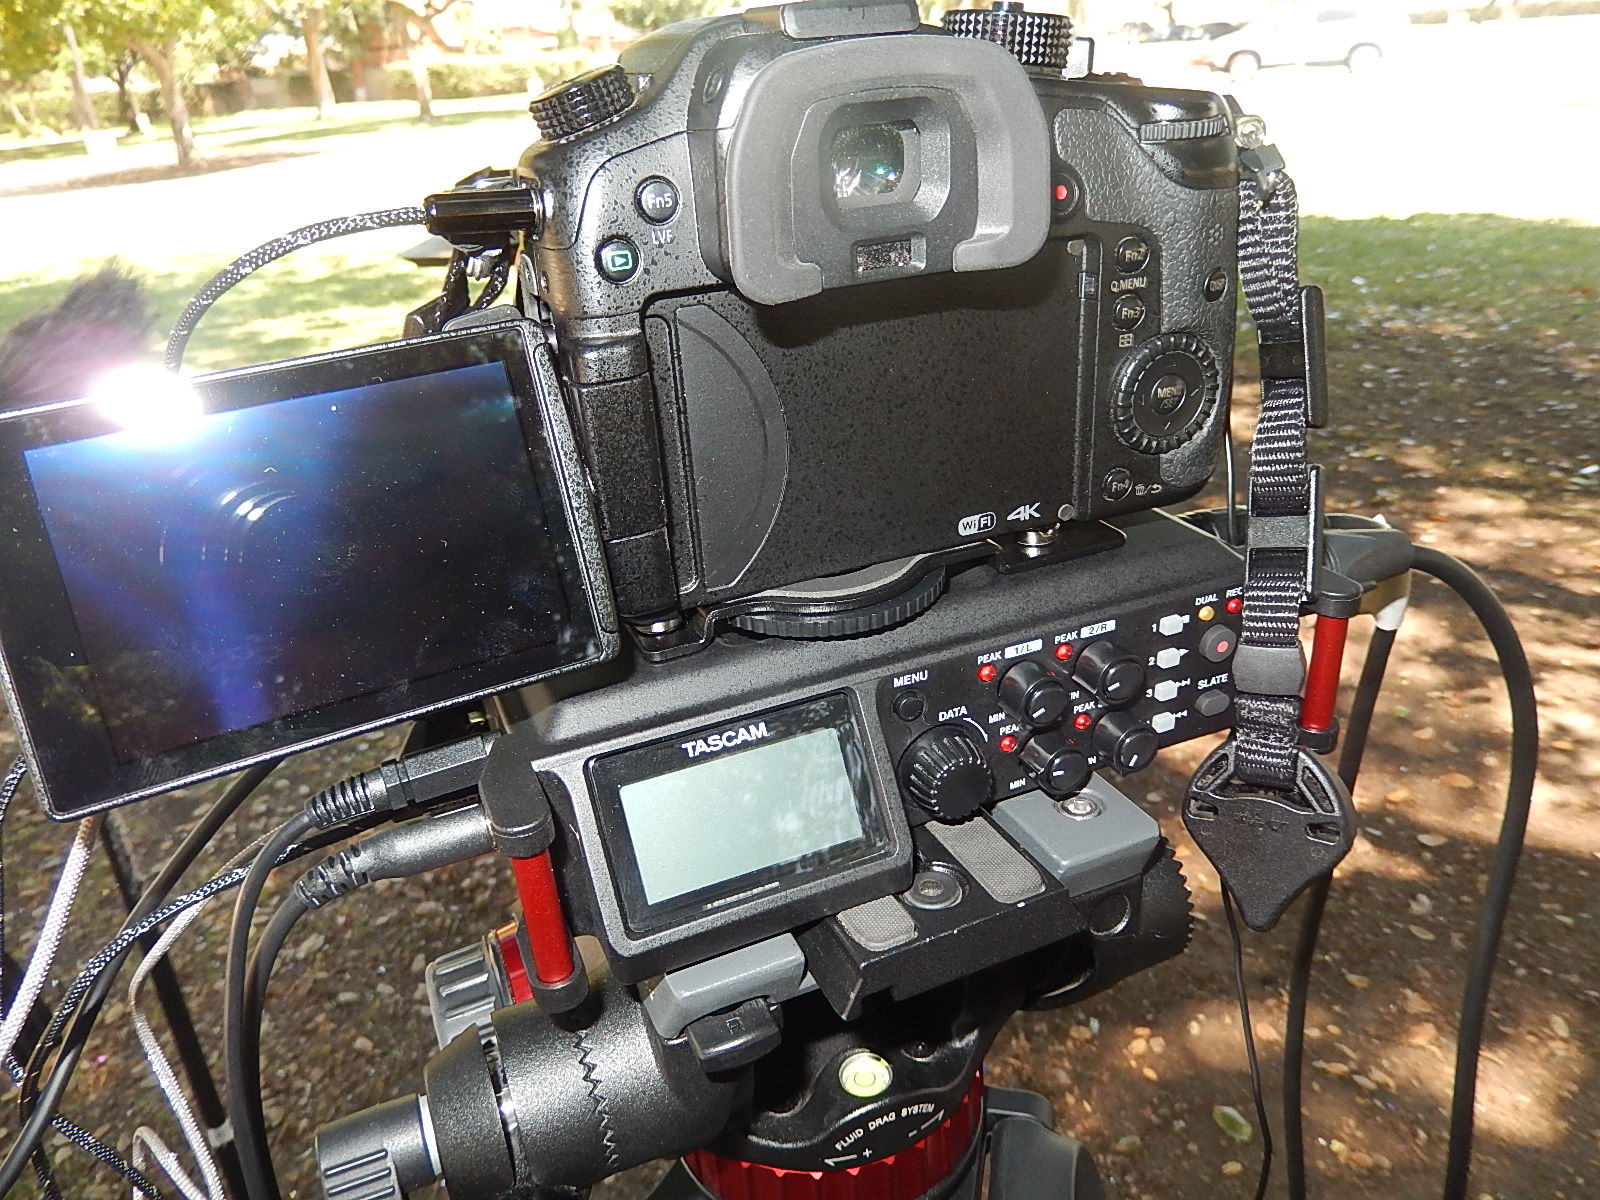
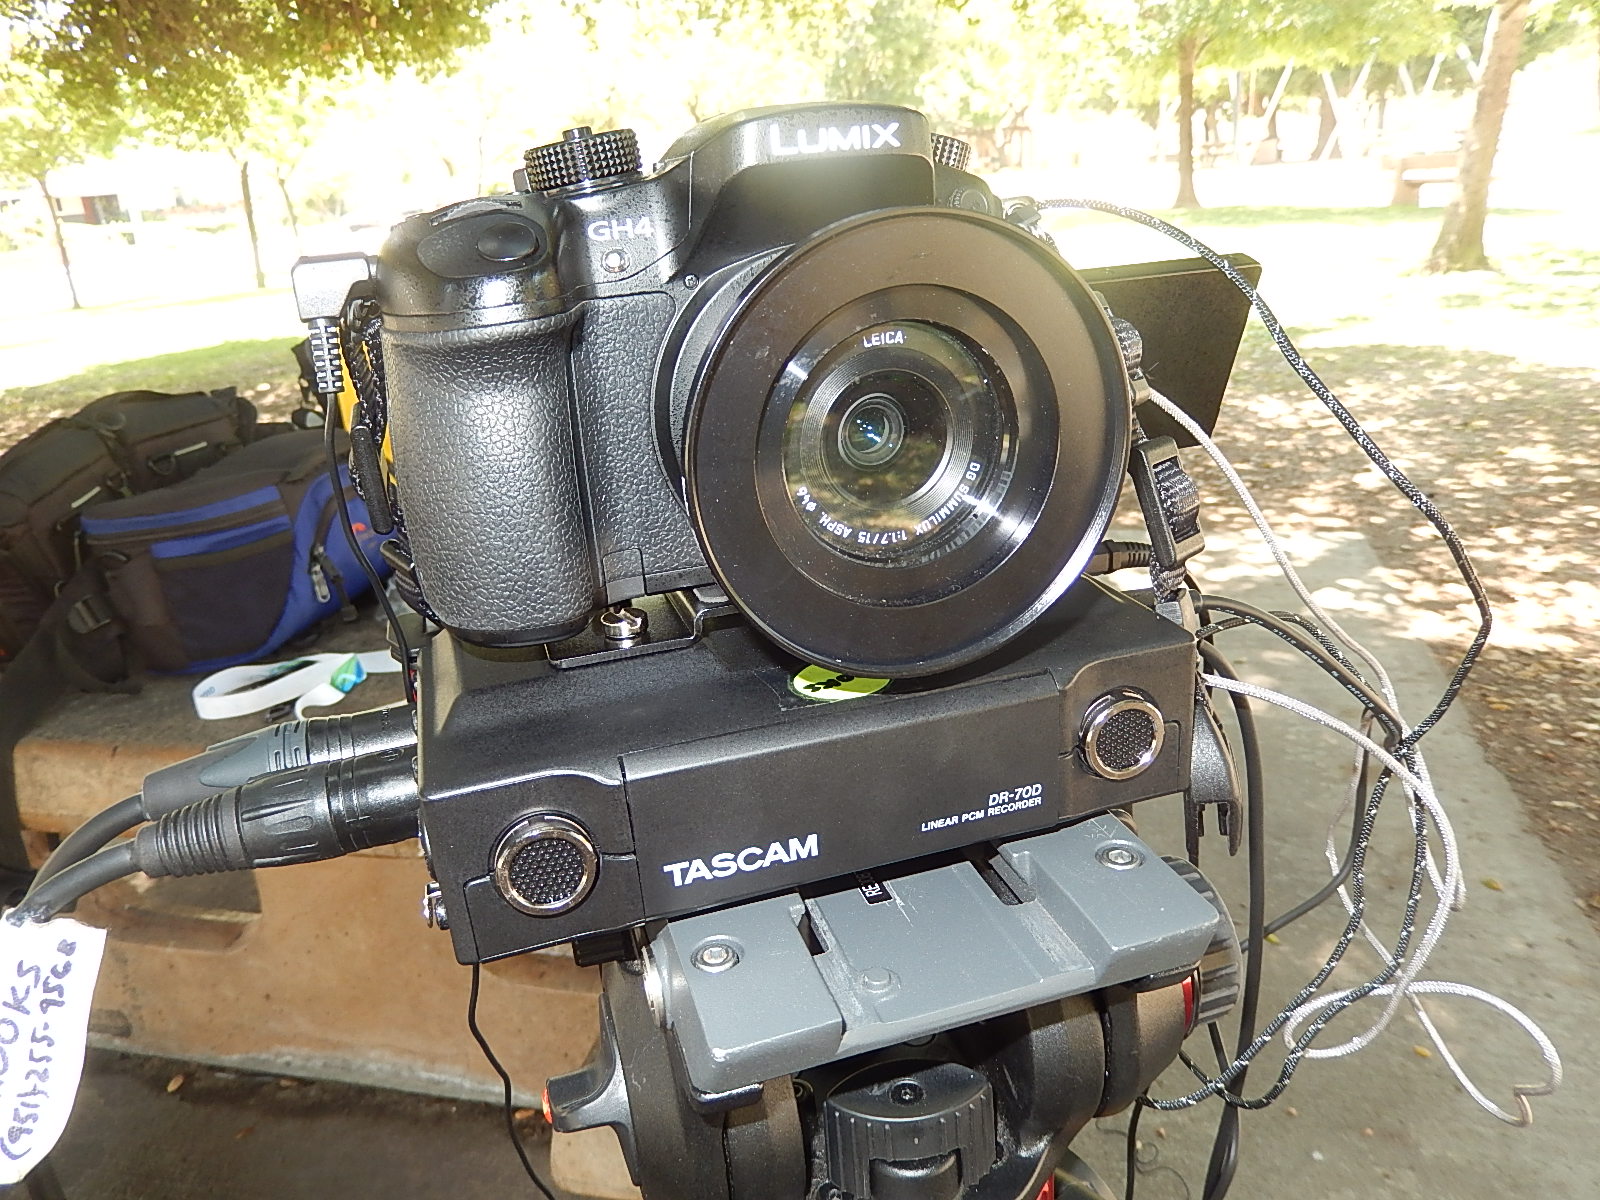
DR-70D DAR below GH4 camera on tripod

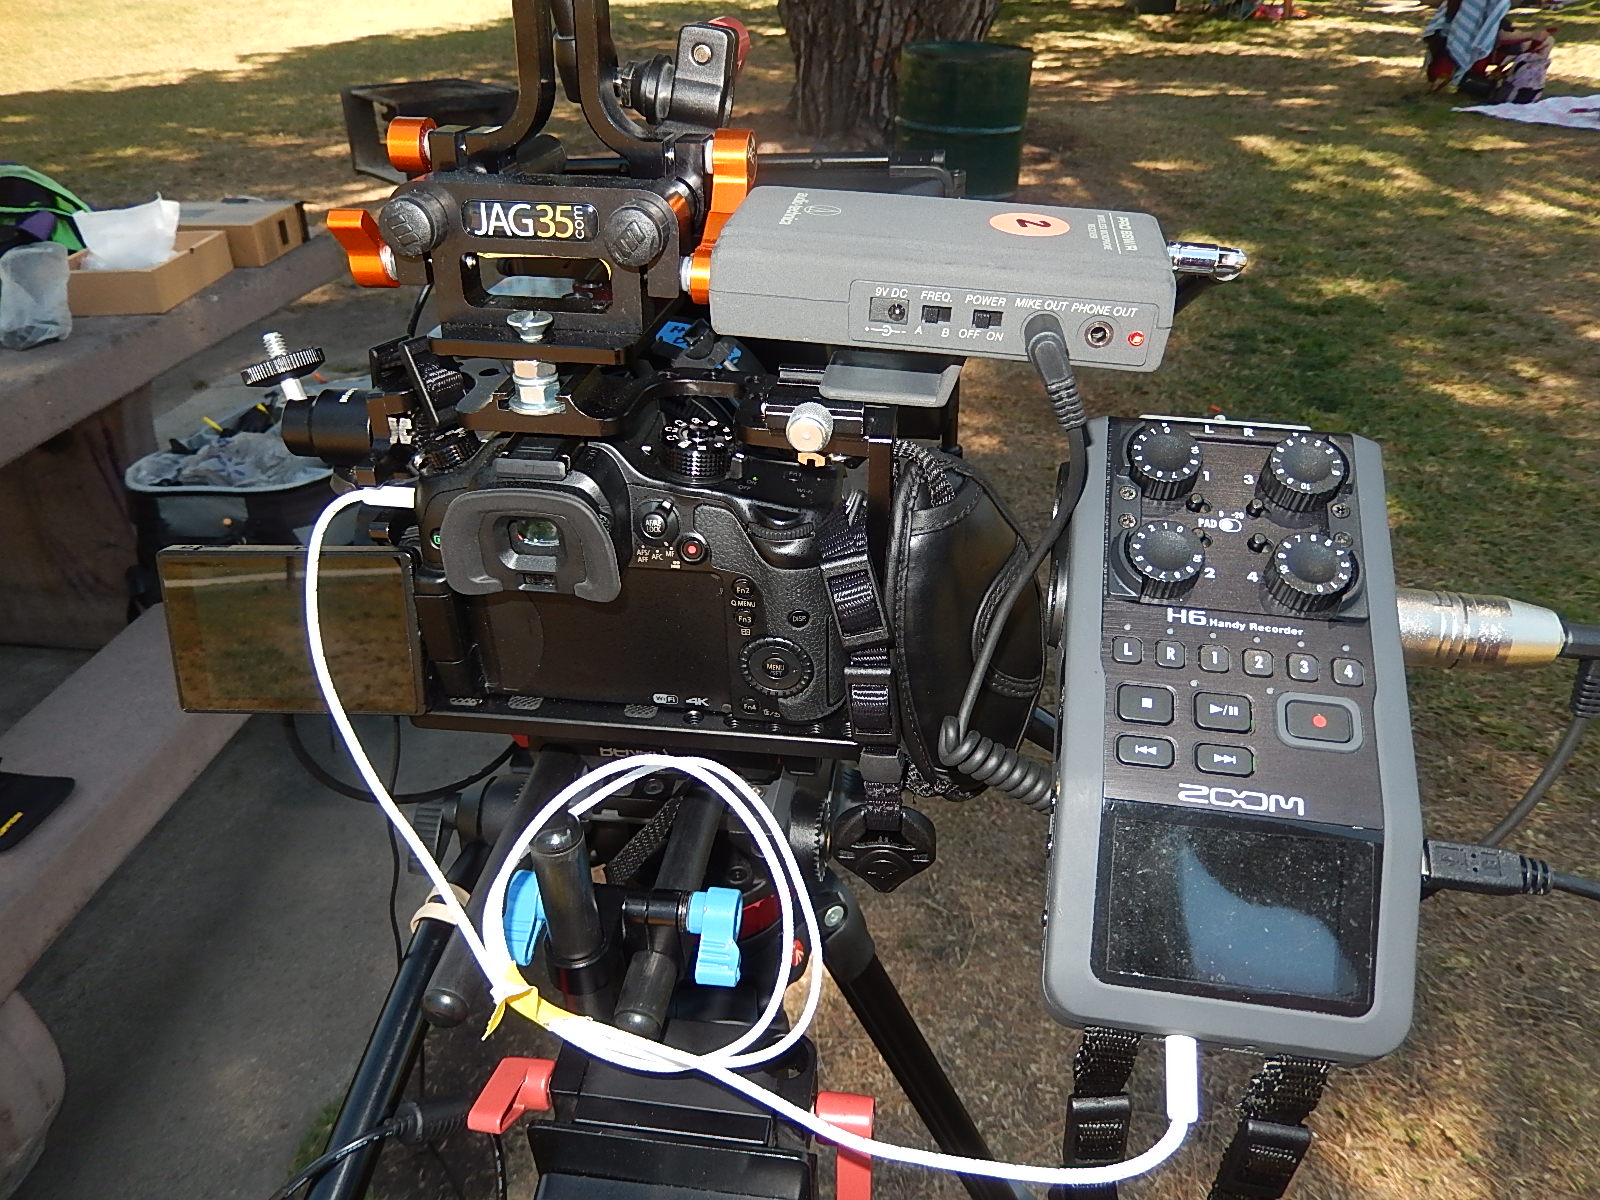
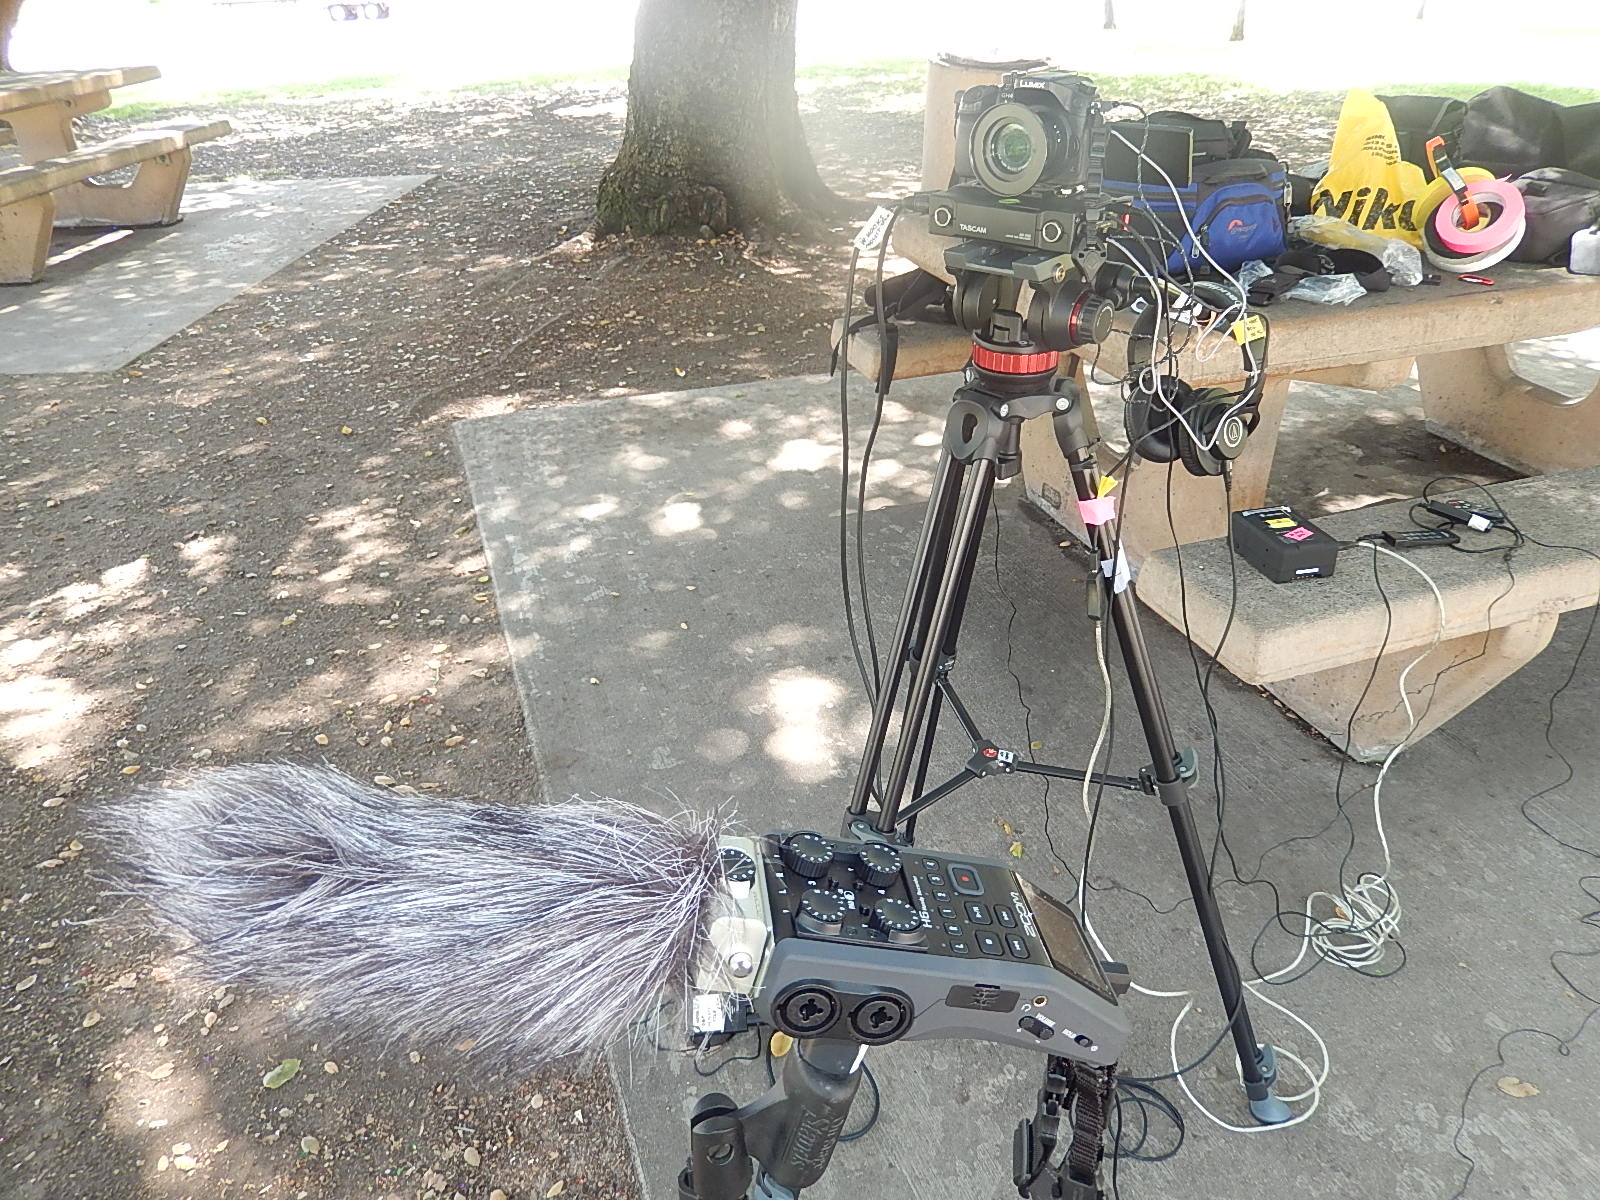
MS (mid-side) microphone capsule option on Zoom H6 DAR
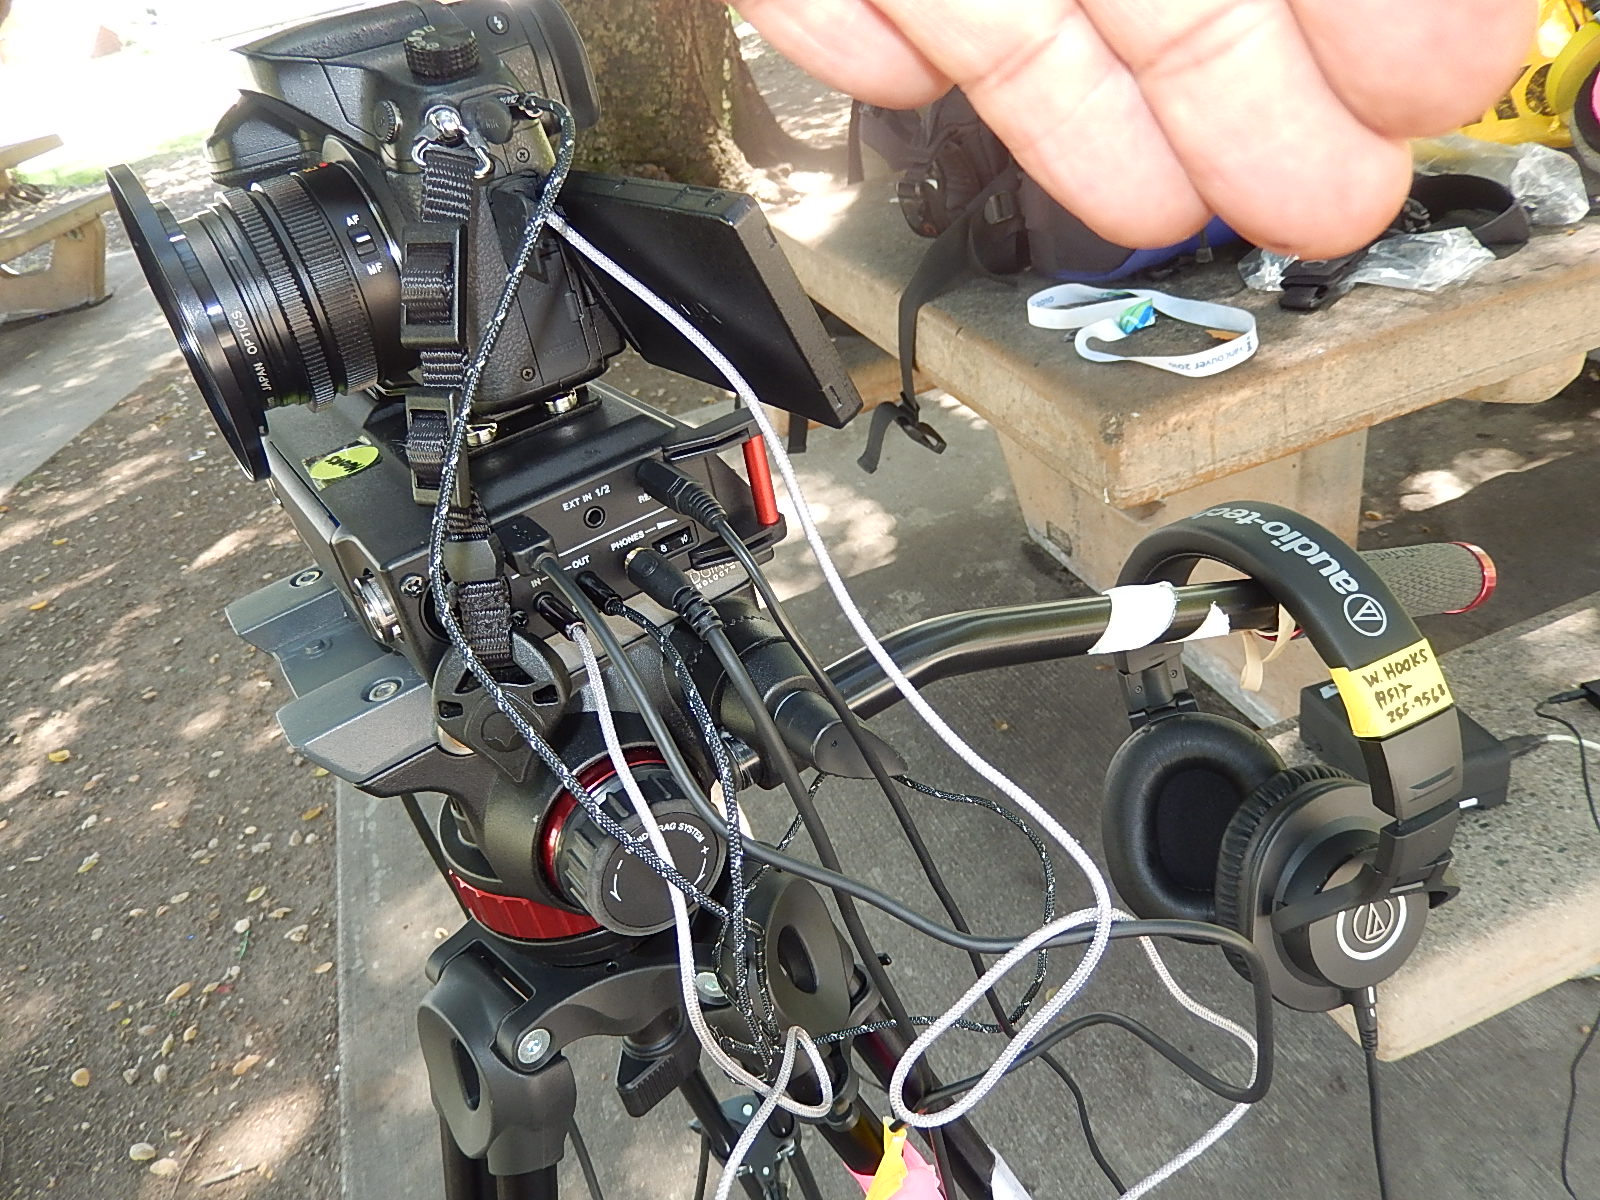
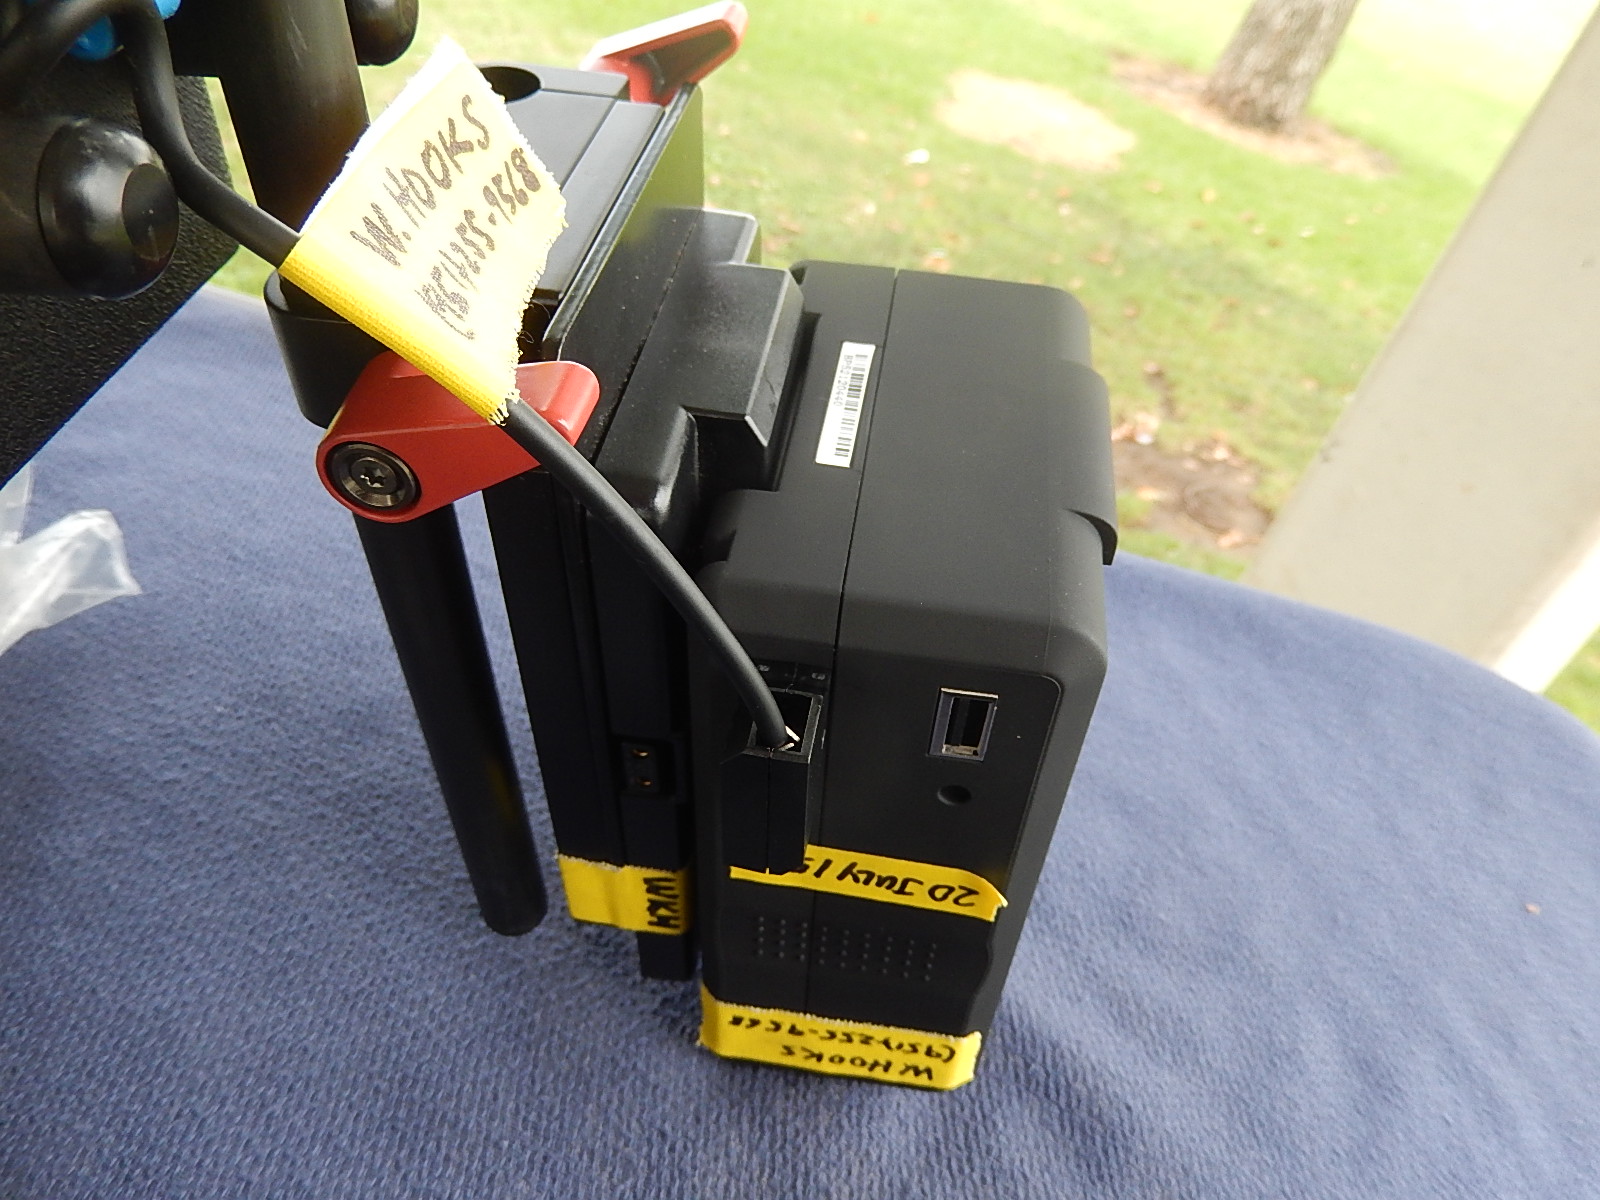
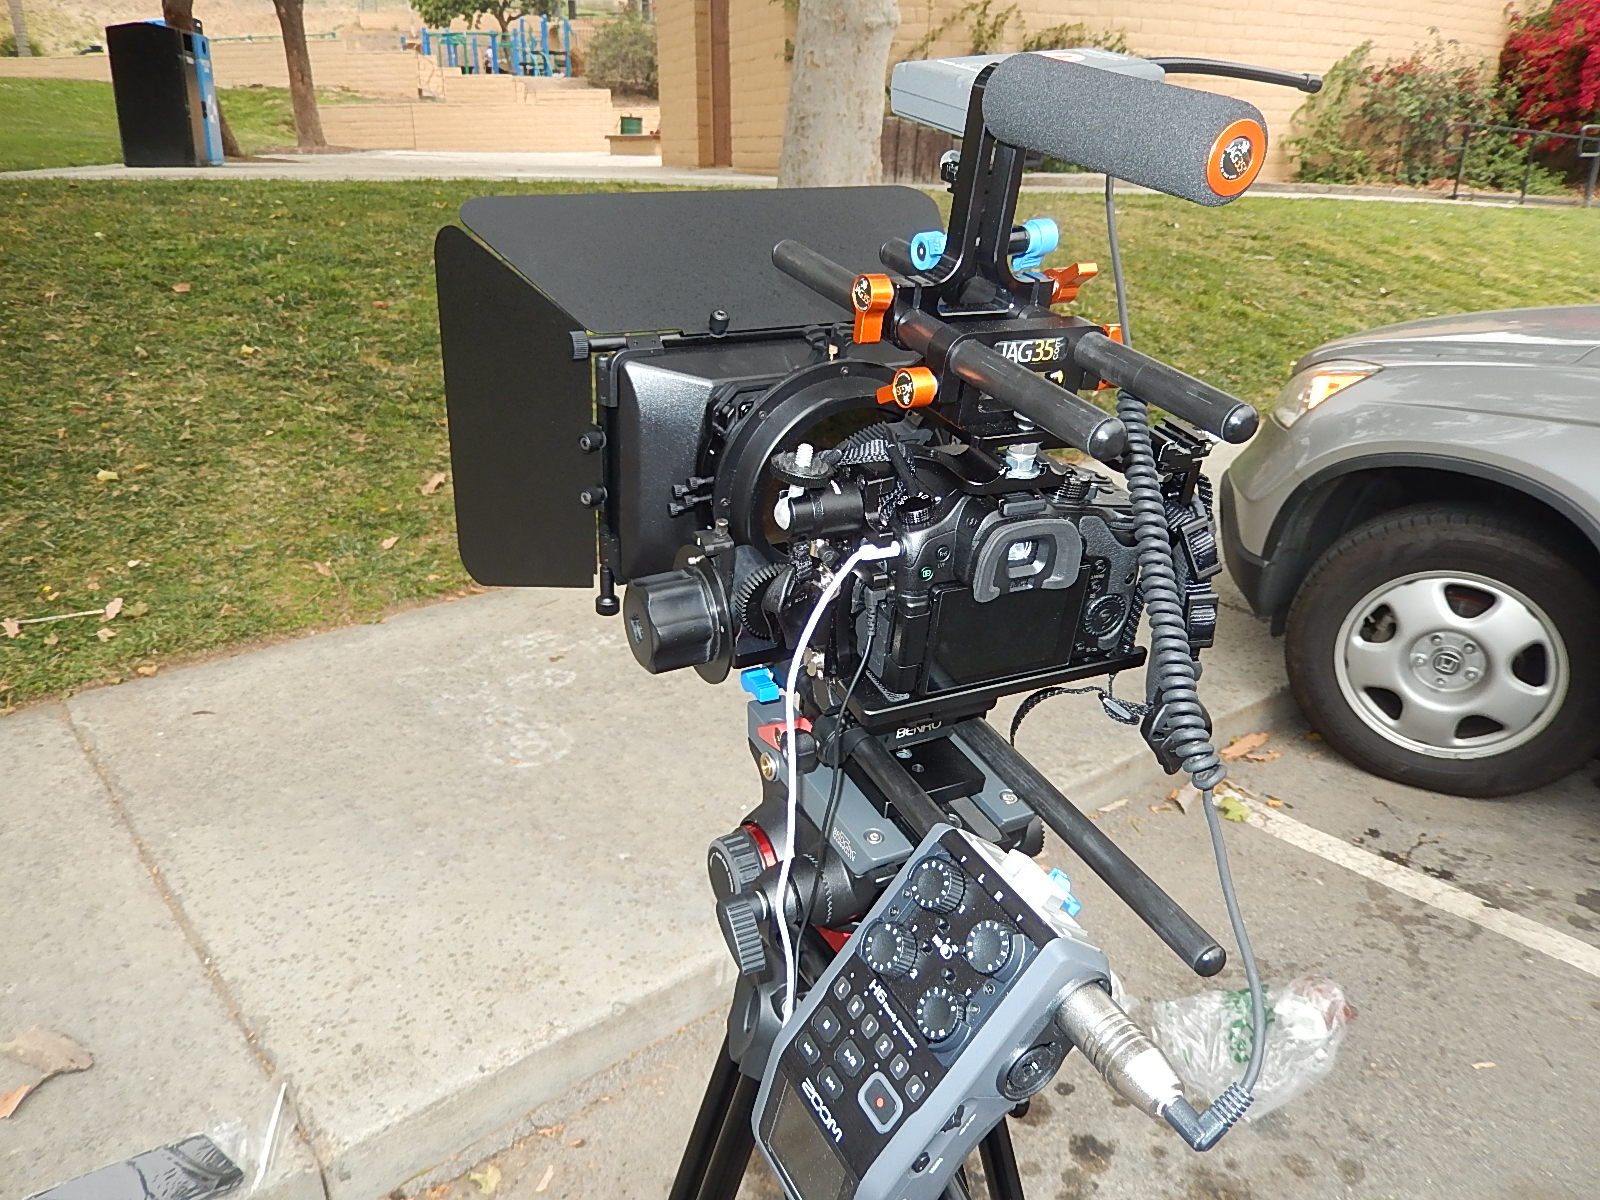
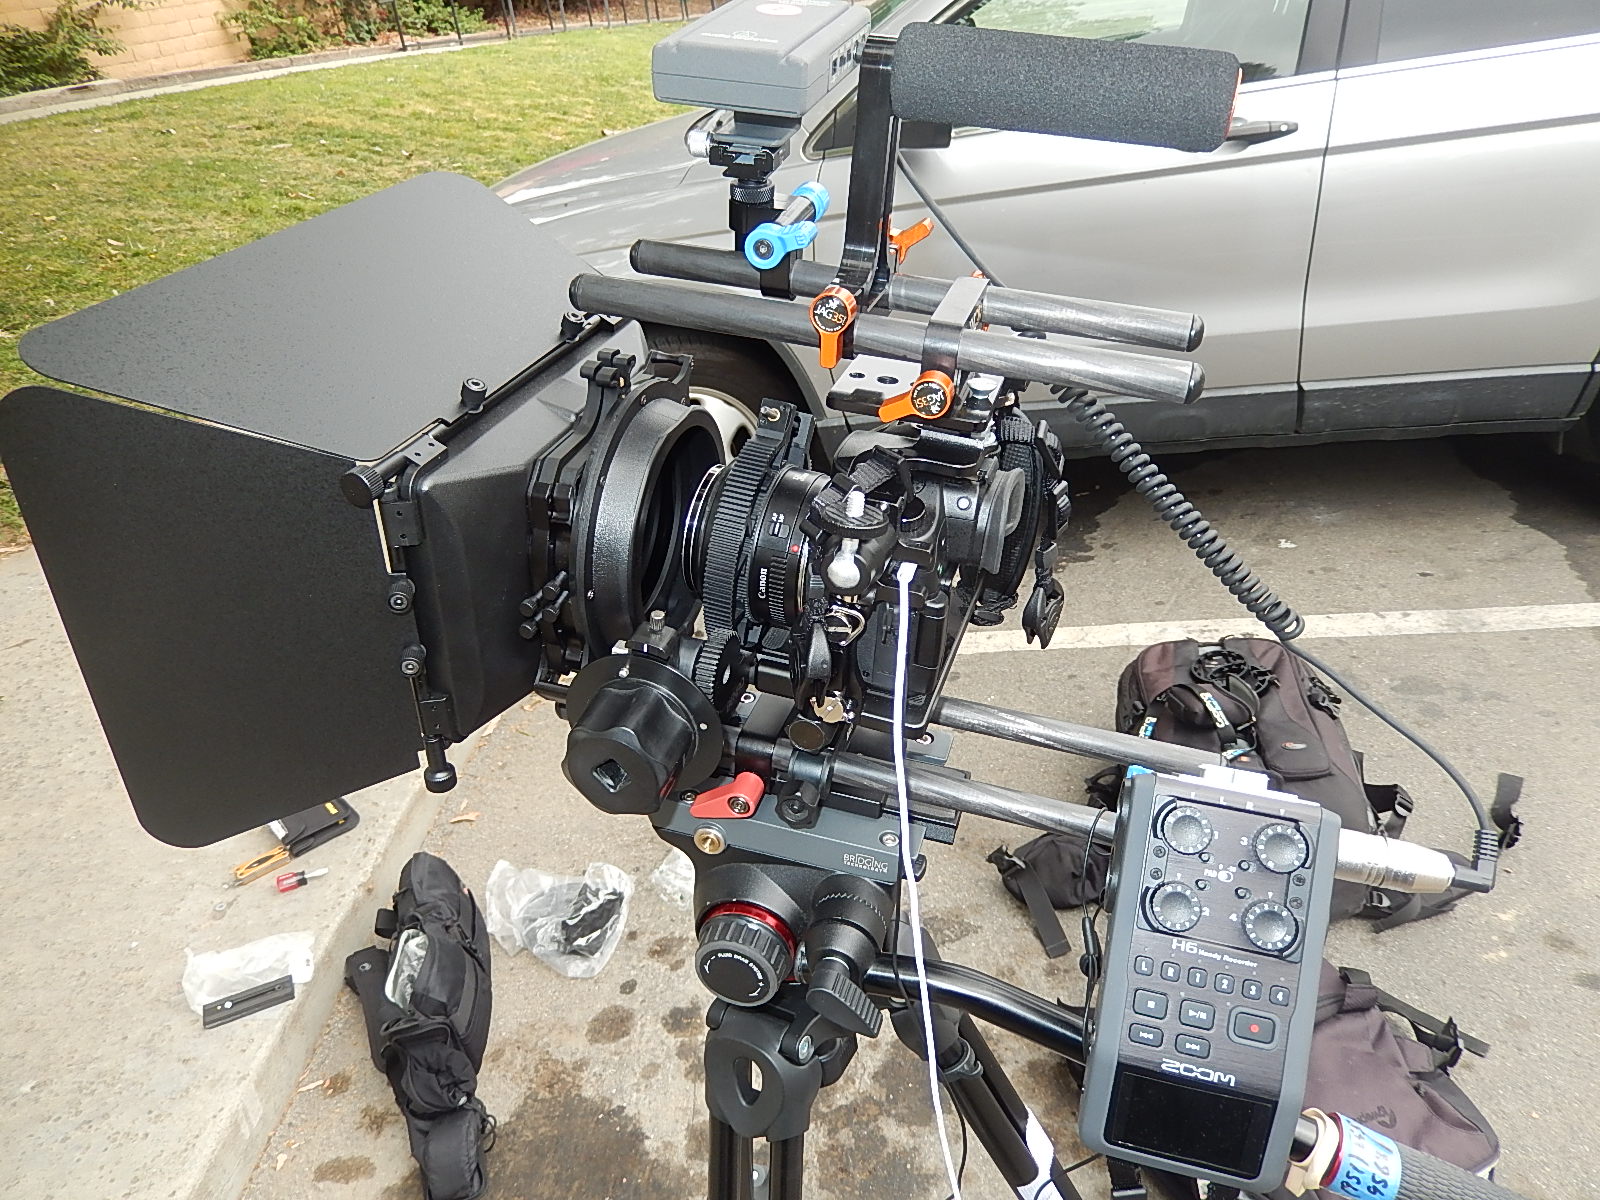
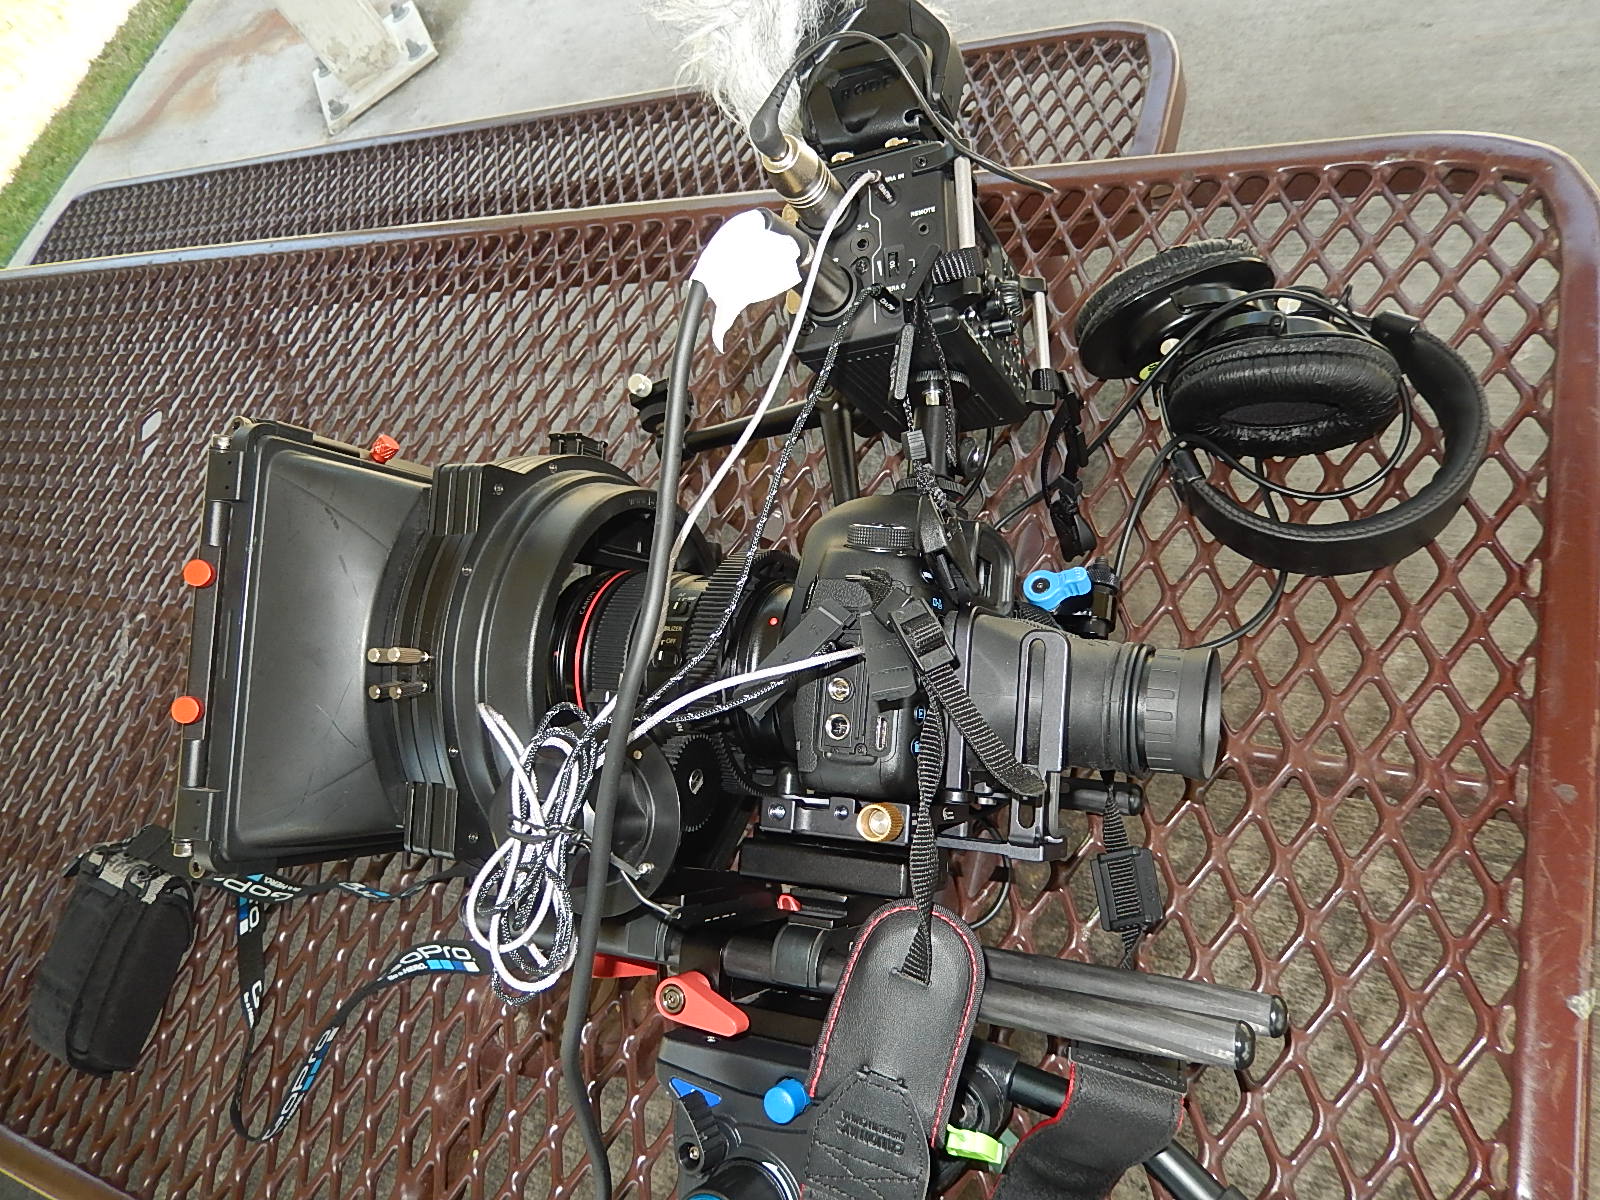
side view showing connections for digital audio recorder positioned below camera
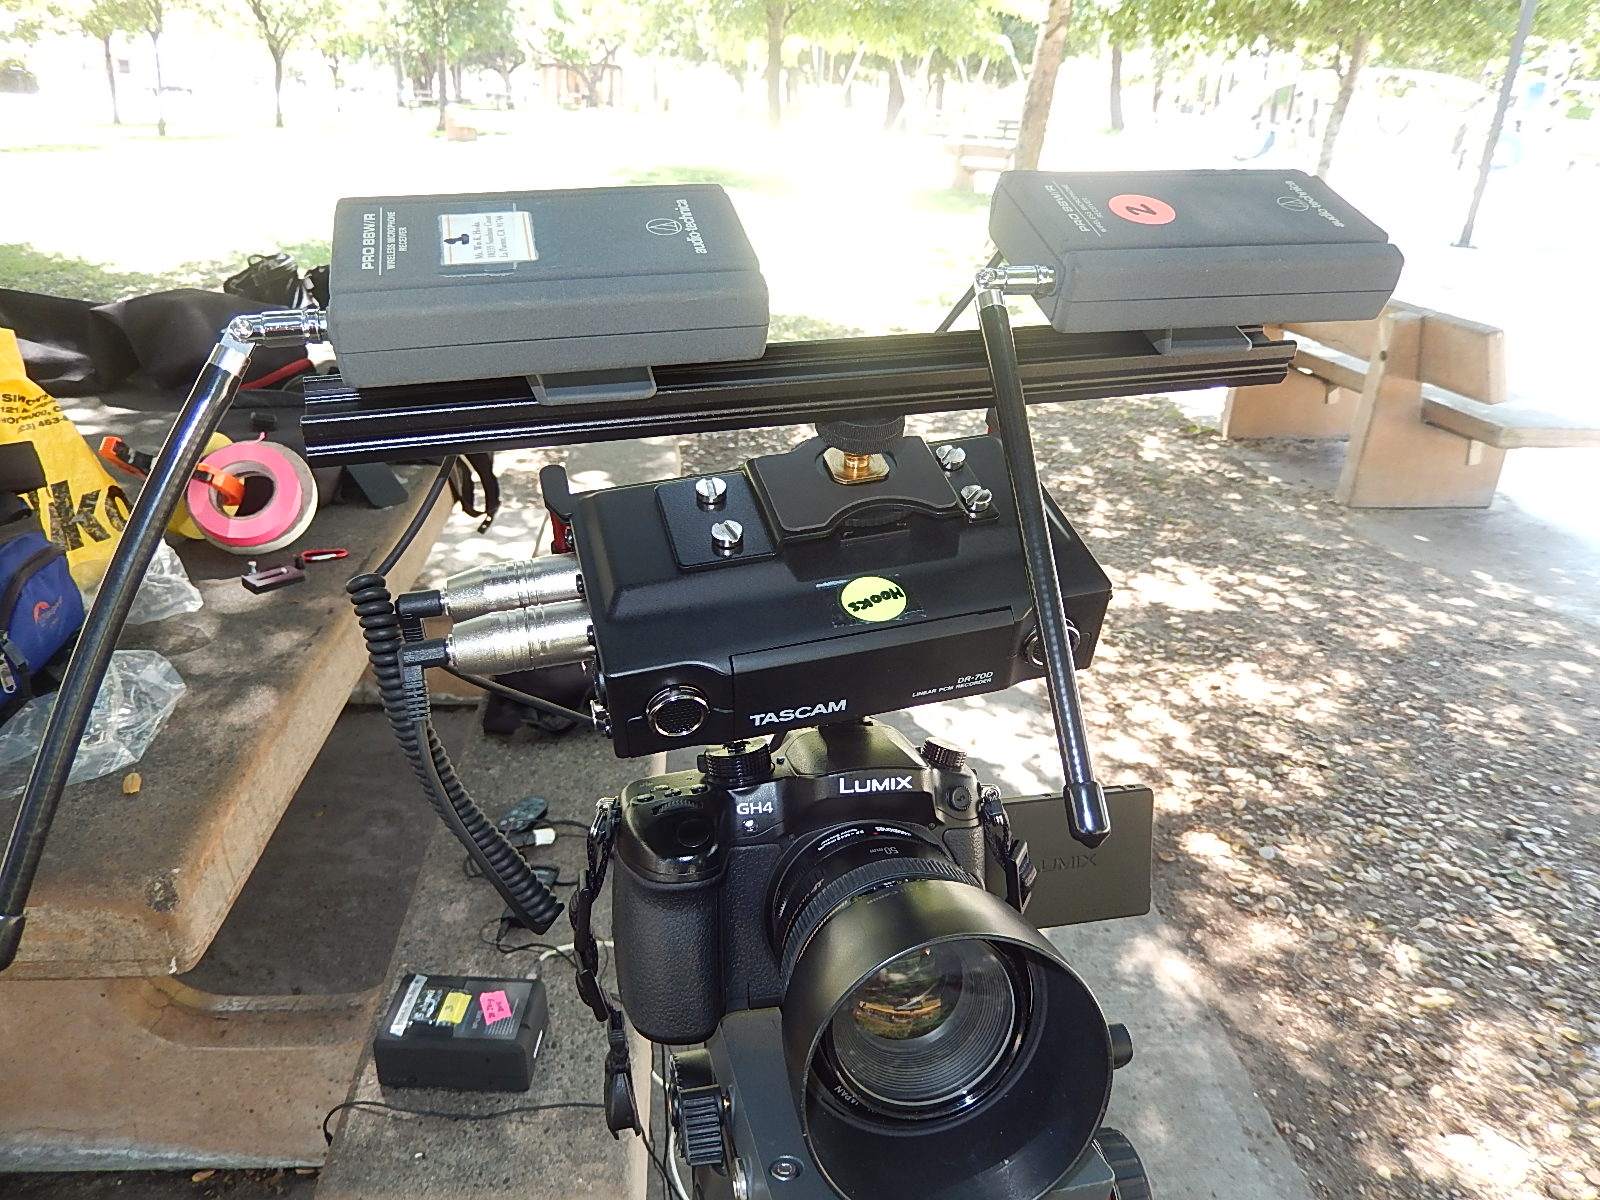
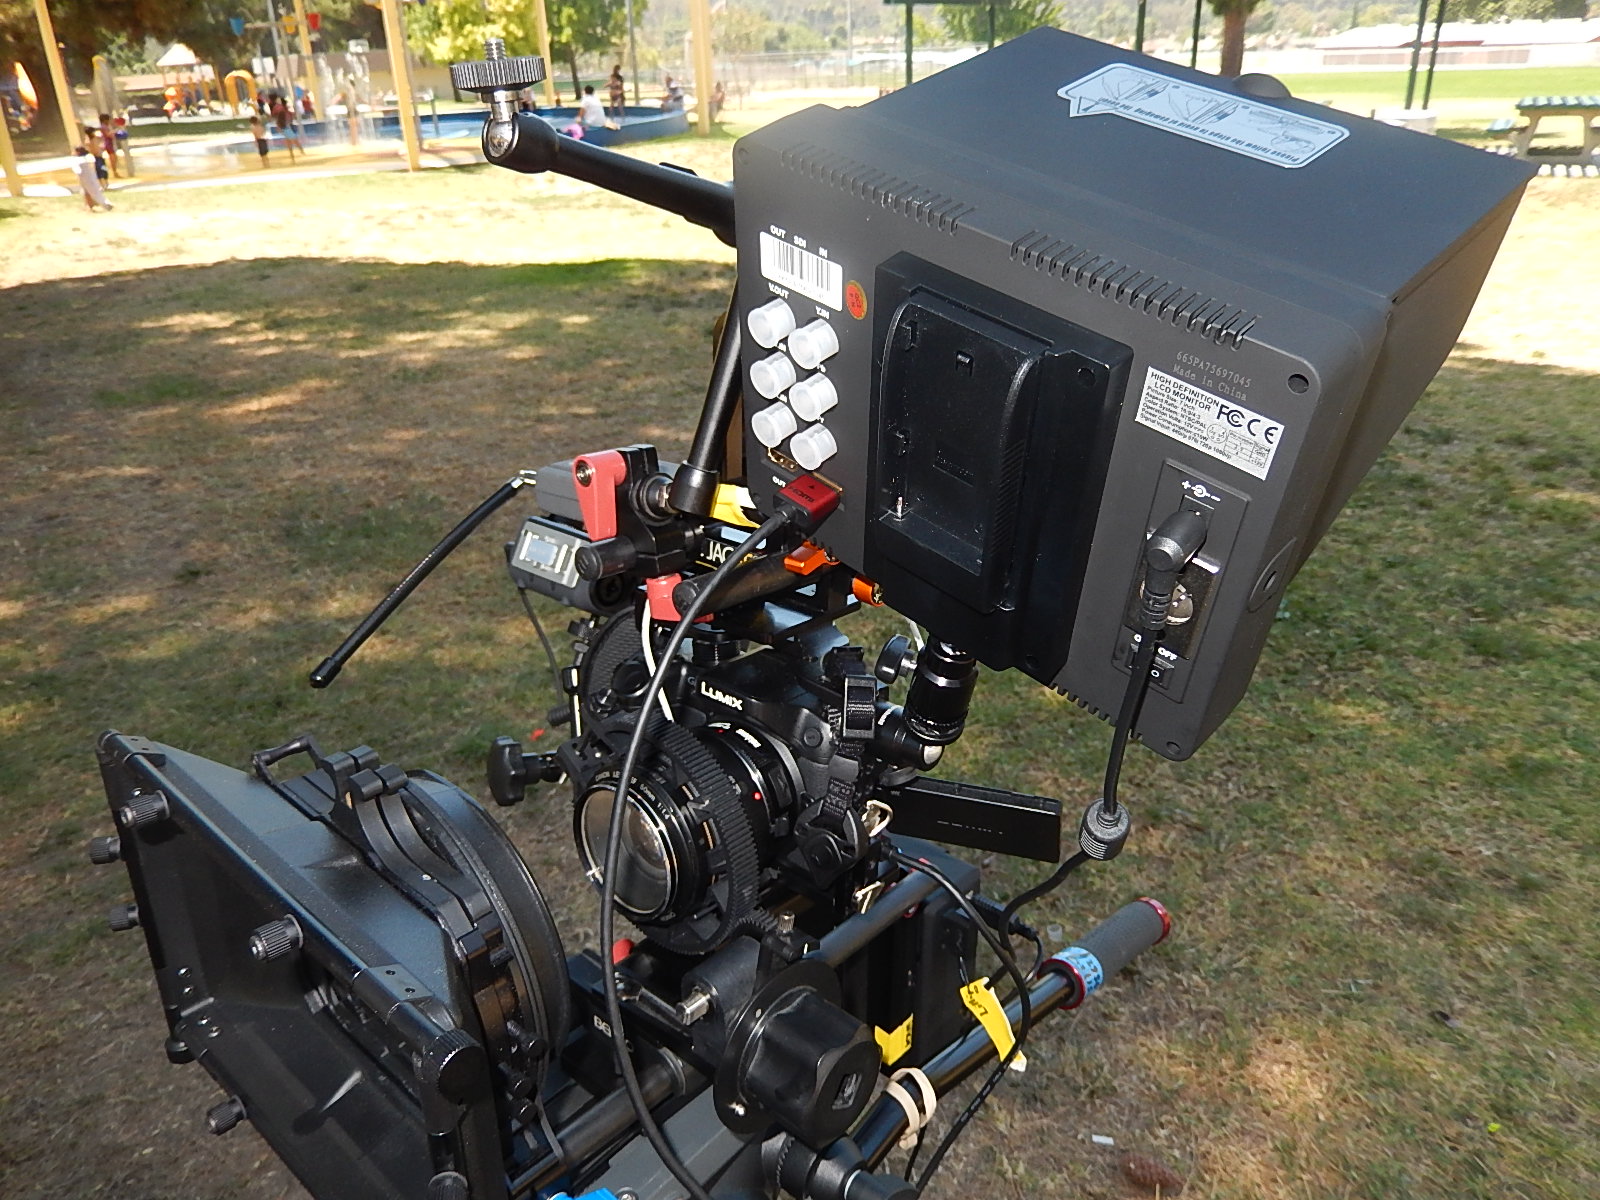
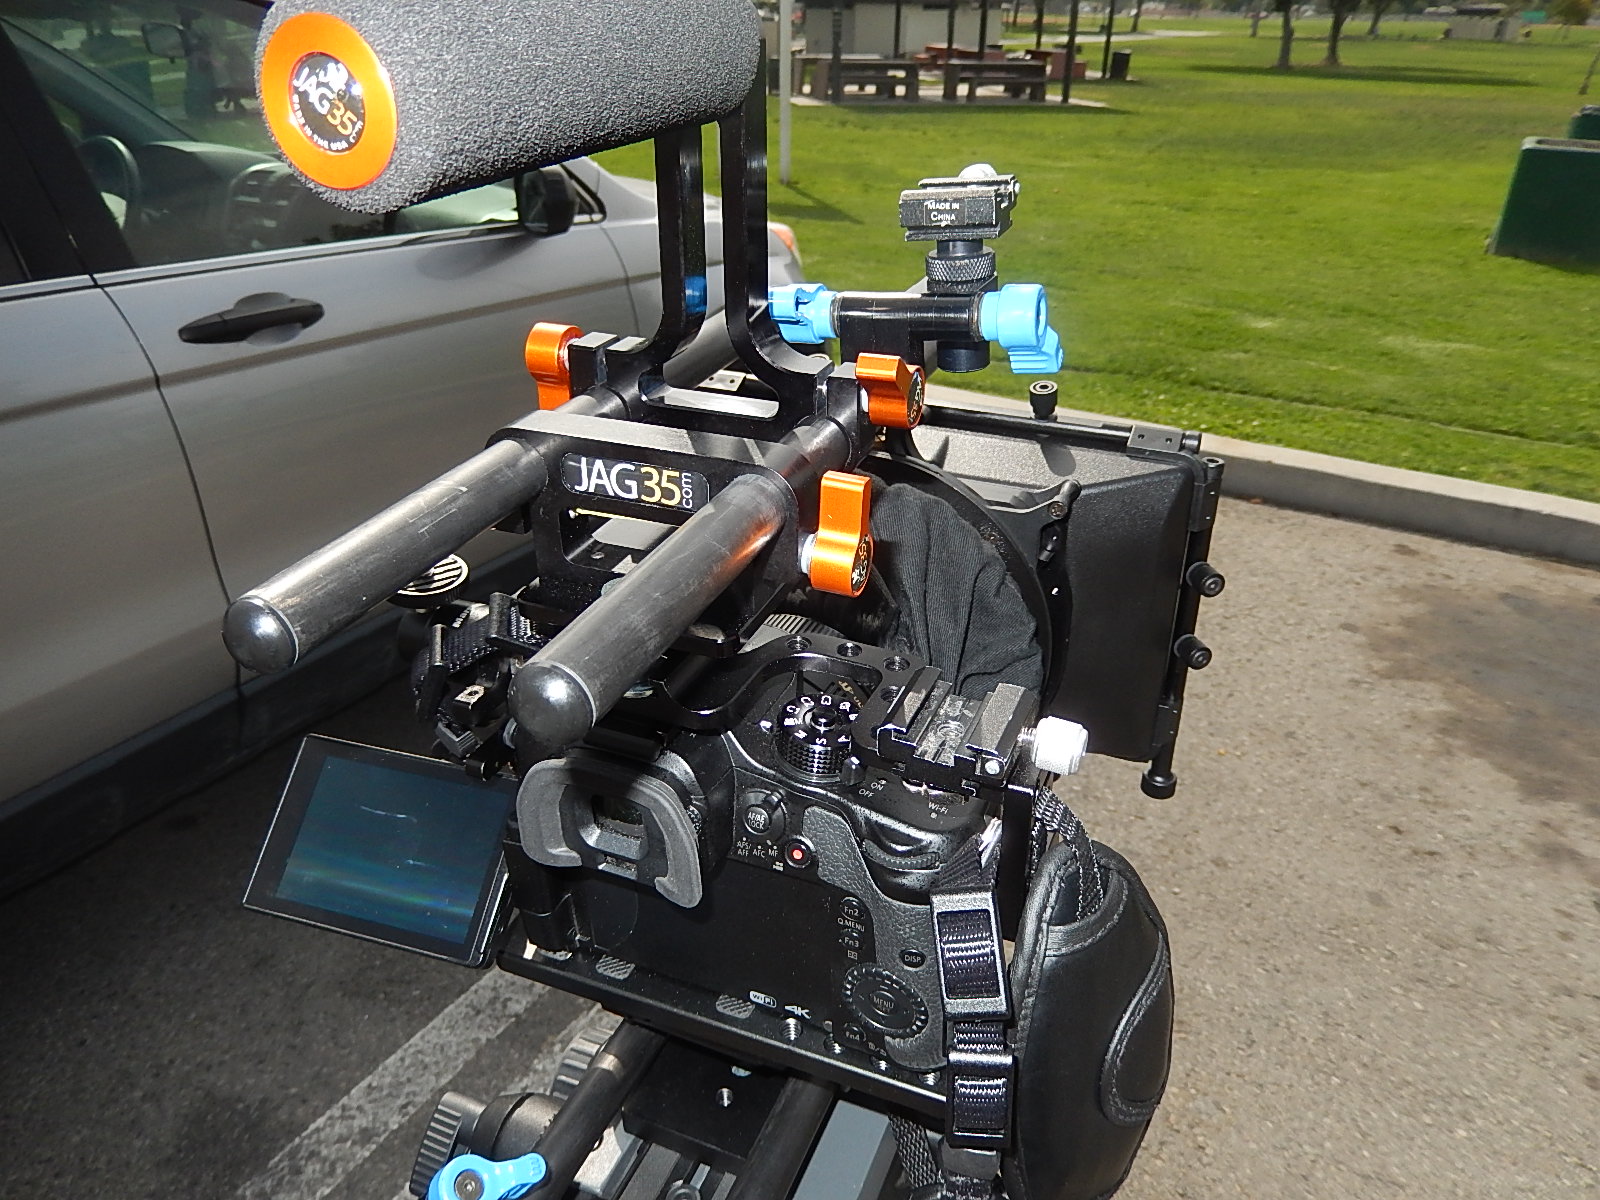
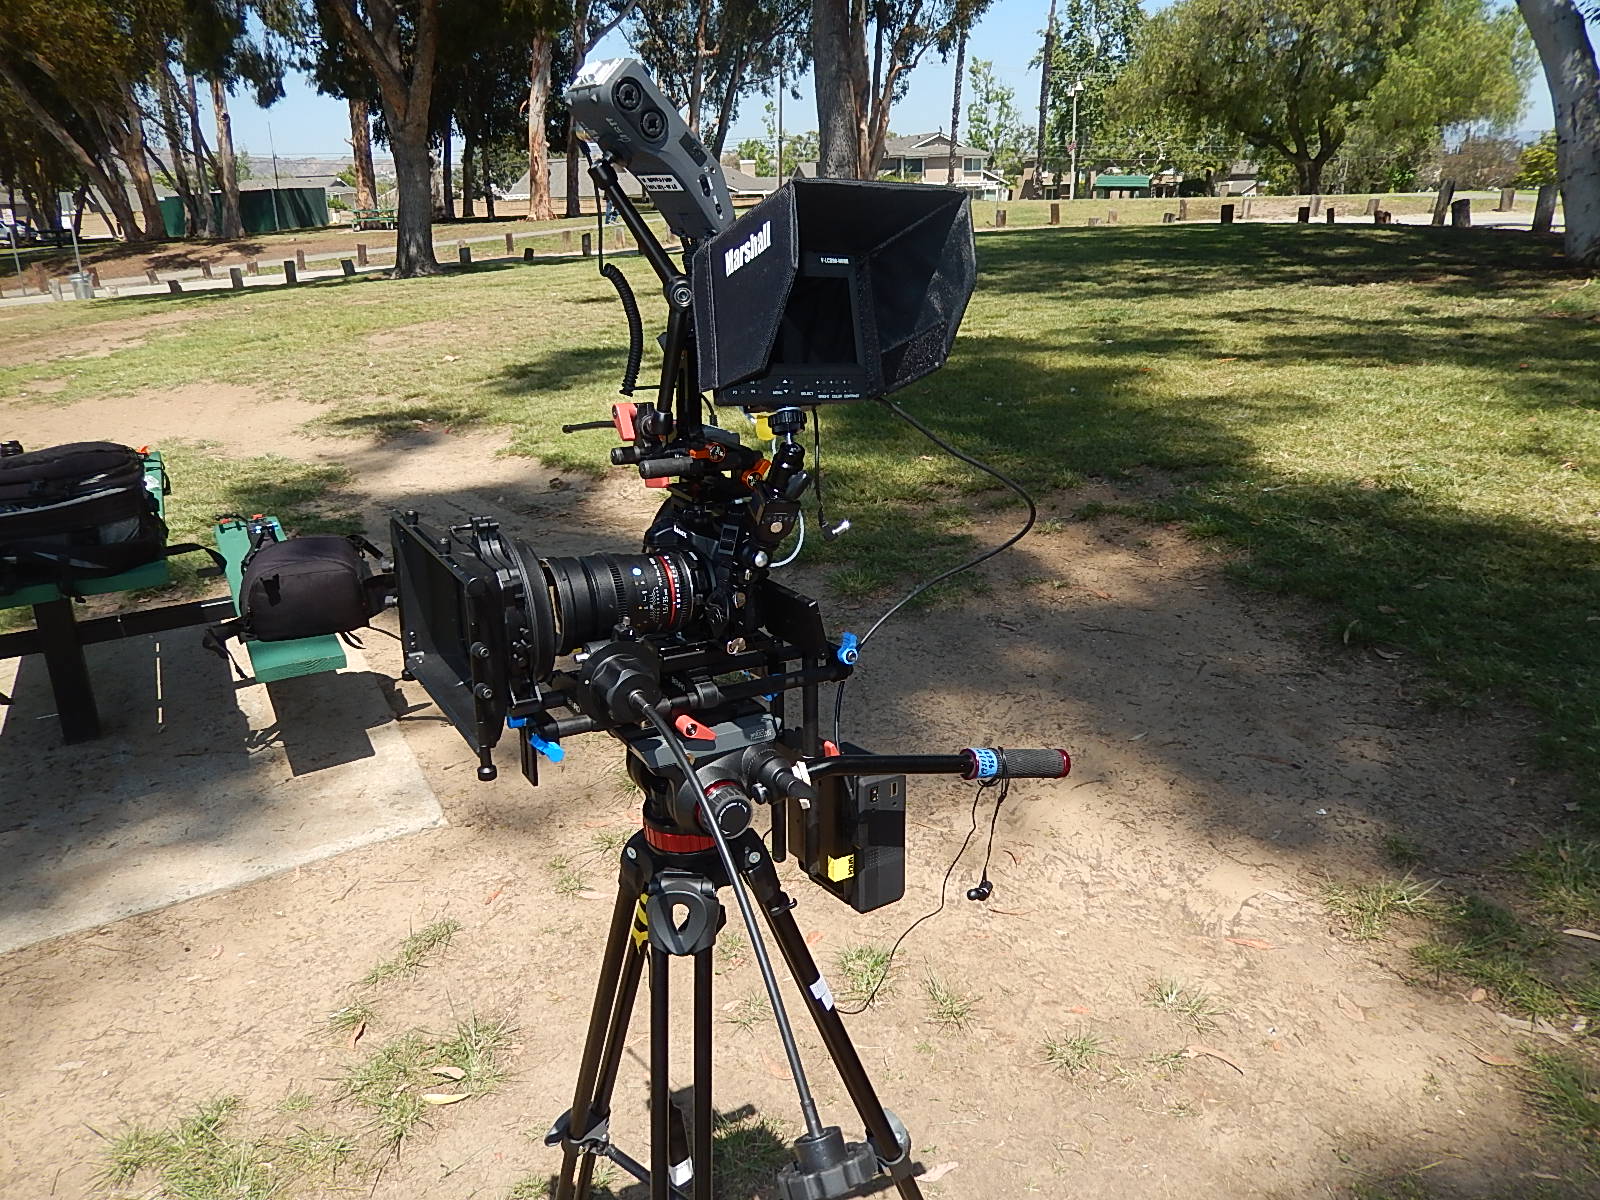
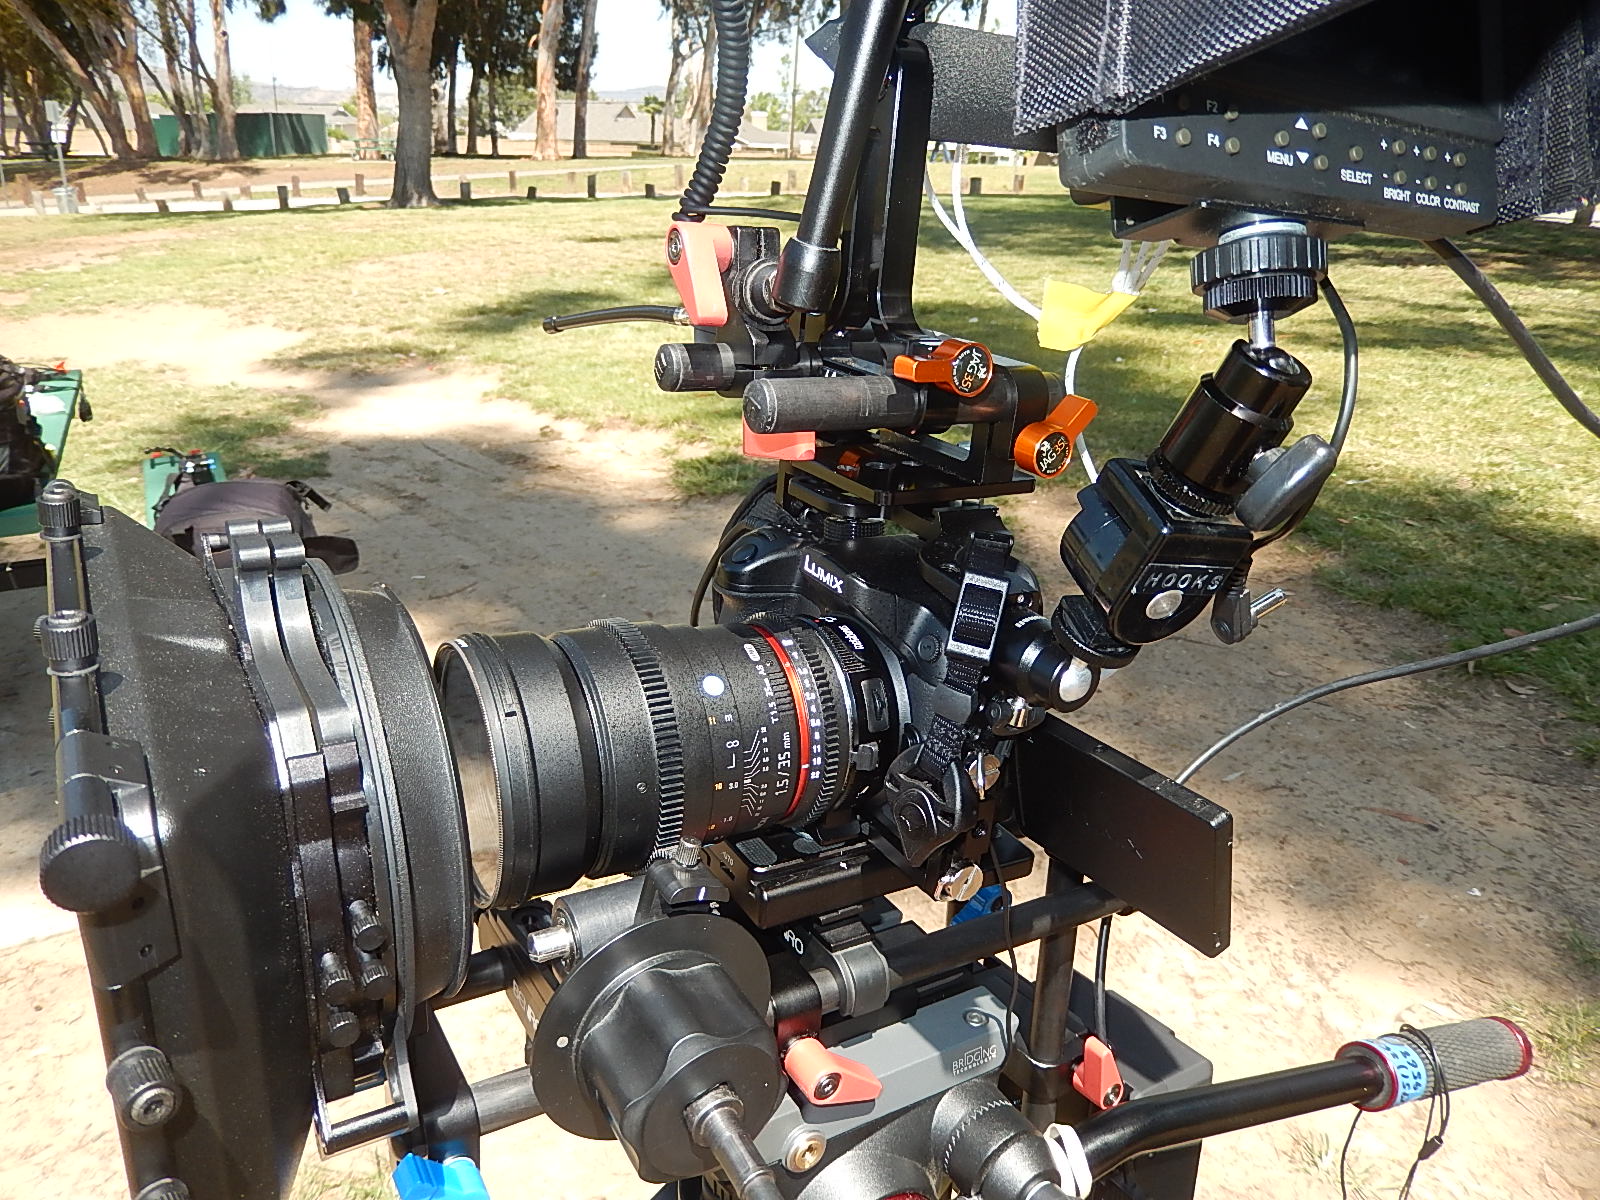
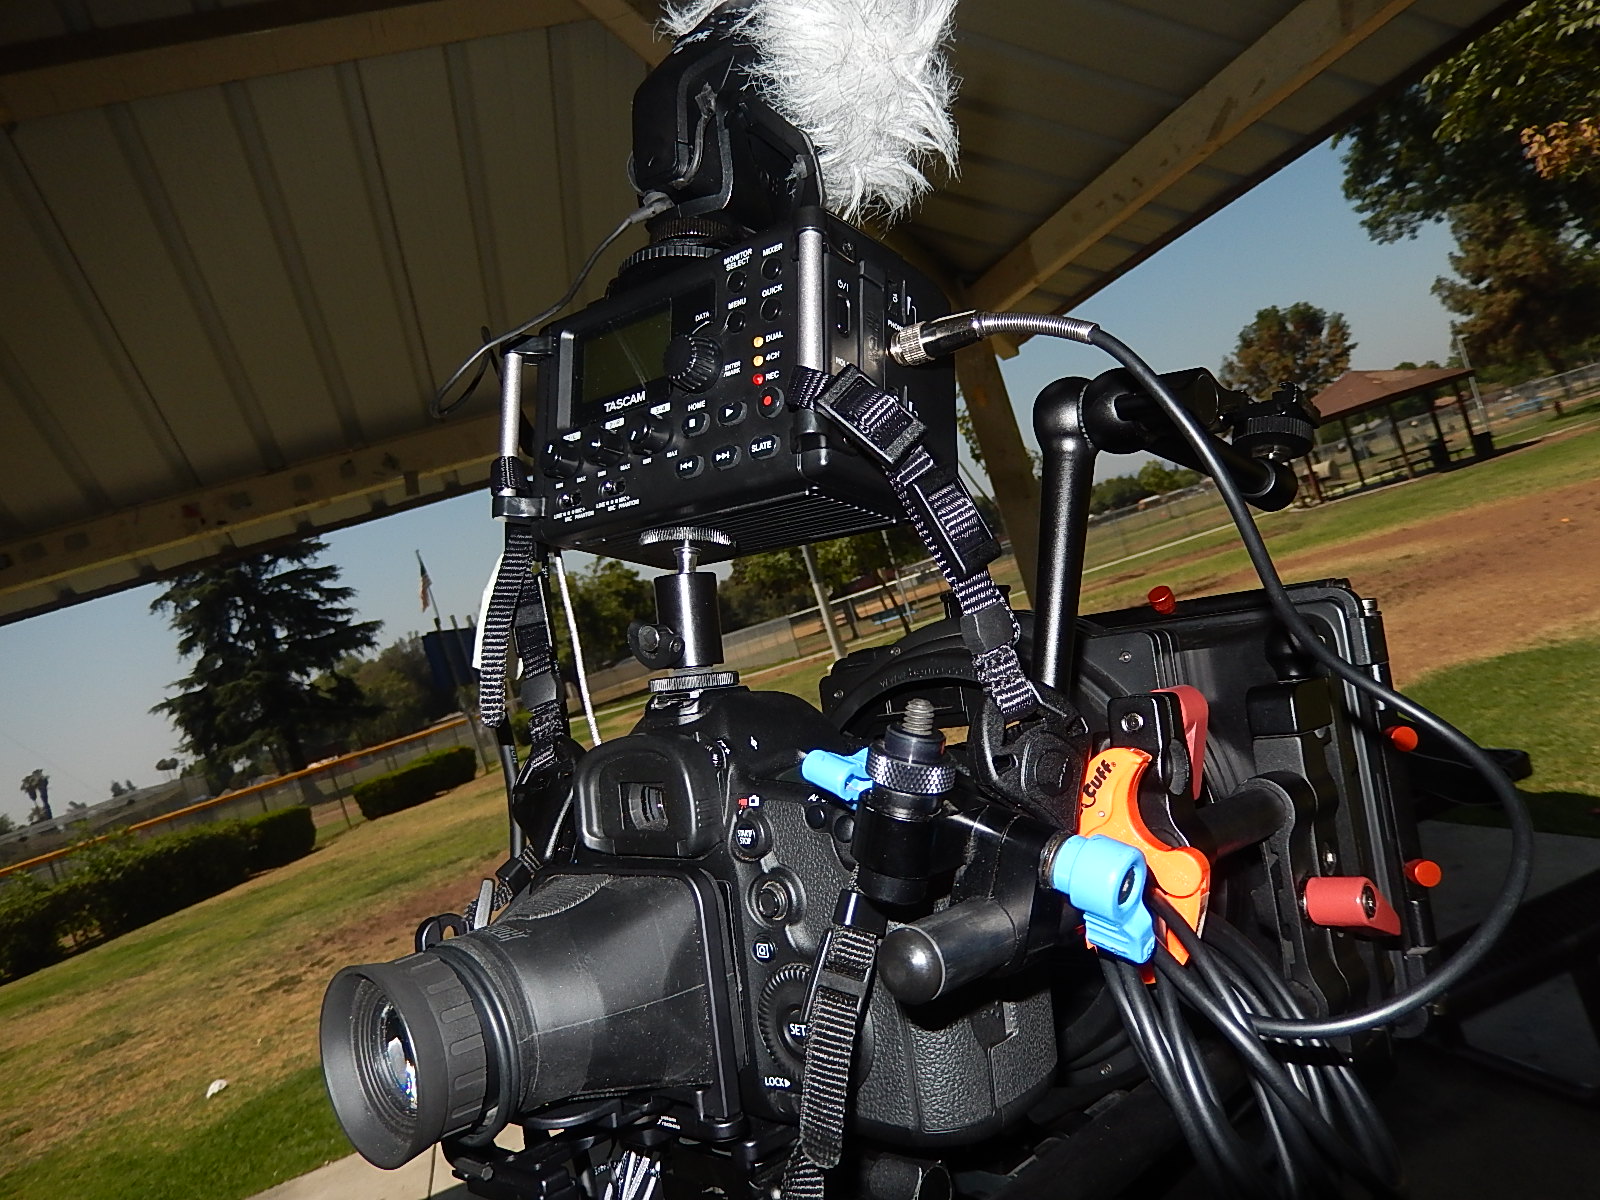
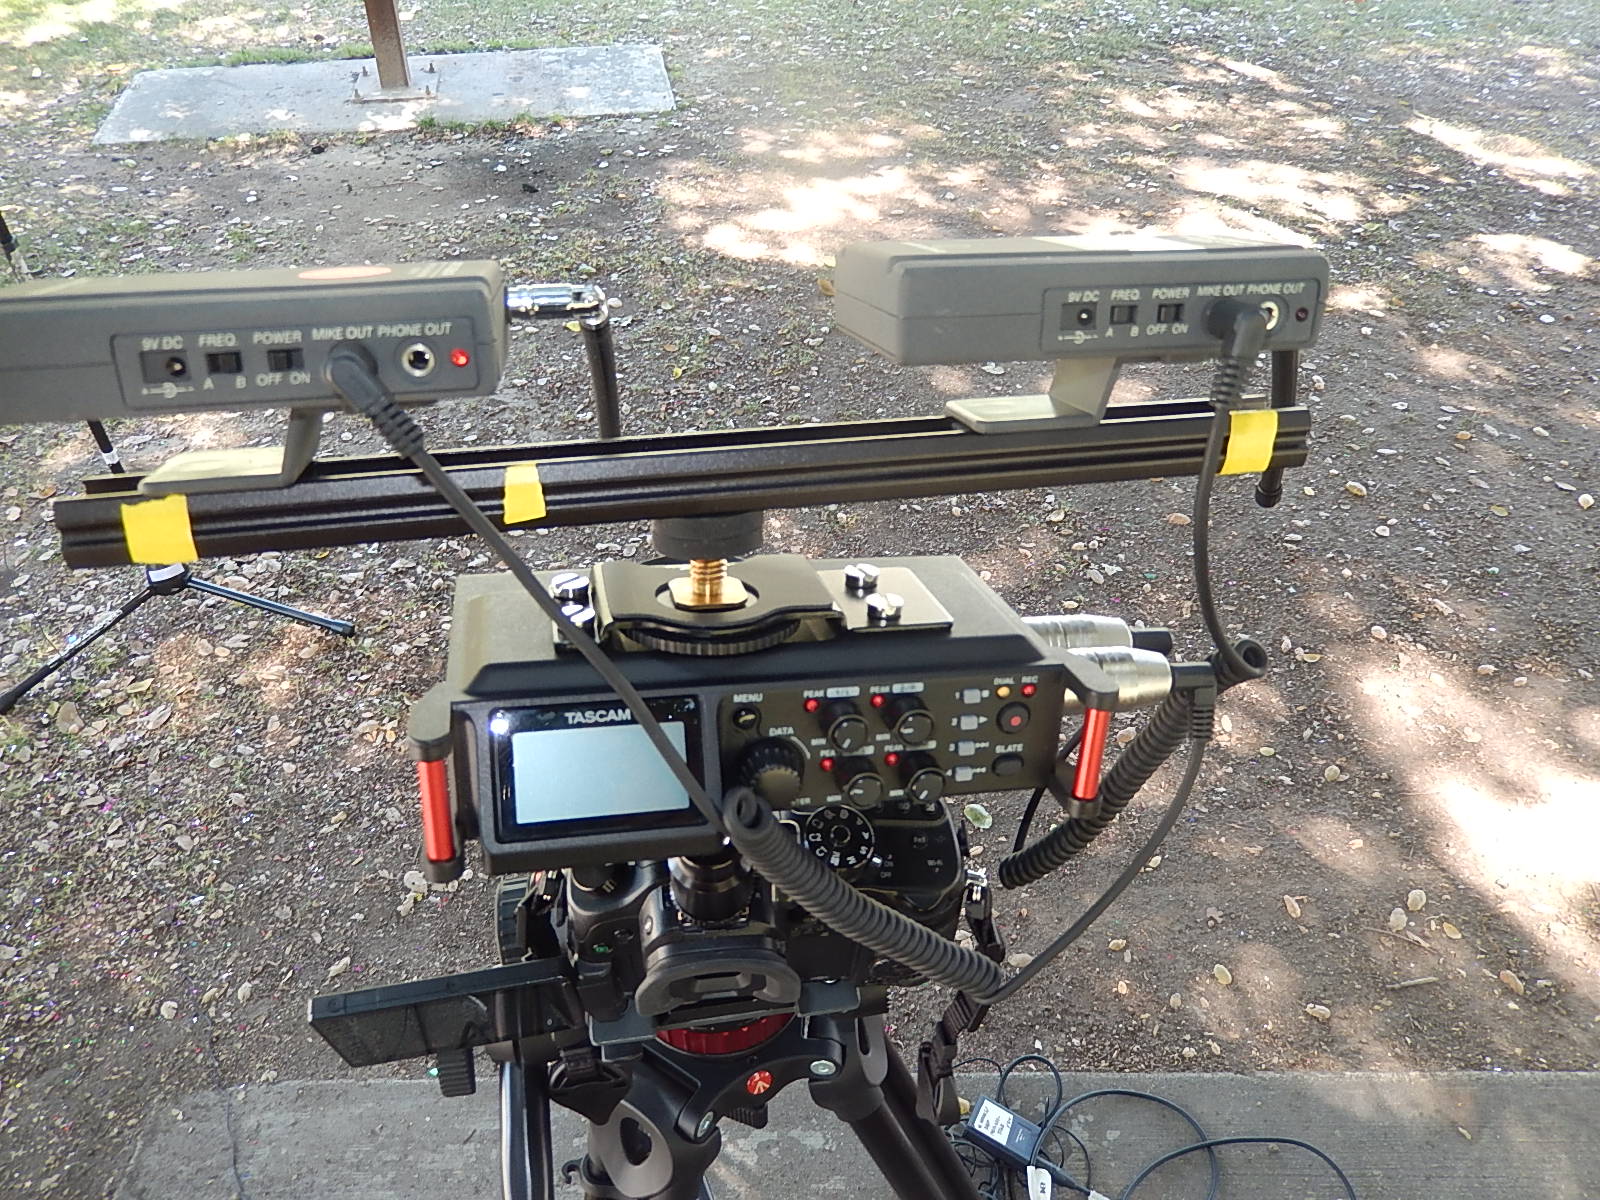
above-camera setup for DR-70D using 12″ rail on hot shoe, and 2 wireless Audio Technica mic receivers
 The idea here is to be able to record to one or more cameras and record audio separately =dual system audio, later aligning the sound and video files while editing. I use Red Giant Plural Eyes Express for this job, it’s easy and automated.
I’ve shown two audio options, one with wired lavalier mics into inputs 1-2 on the Tascam DR-70D DAR connected below the camera and the other with the DAR mounted on an adapter above the camera, connected to wireless mic receivers.
The other DAR (Zoom H6) is used here as a hand-held microphone close to the subject, recording backup tracks; one could easily add a shotgun mic track here, for example, or one of the lav tracks if desired. I sometimes use the MS mic capsule in this setup because it’s simple to pick up my interview questions and the corresponding answers with that mic, place close to my side and less than 2 feet from the subject out of frame.
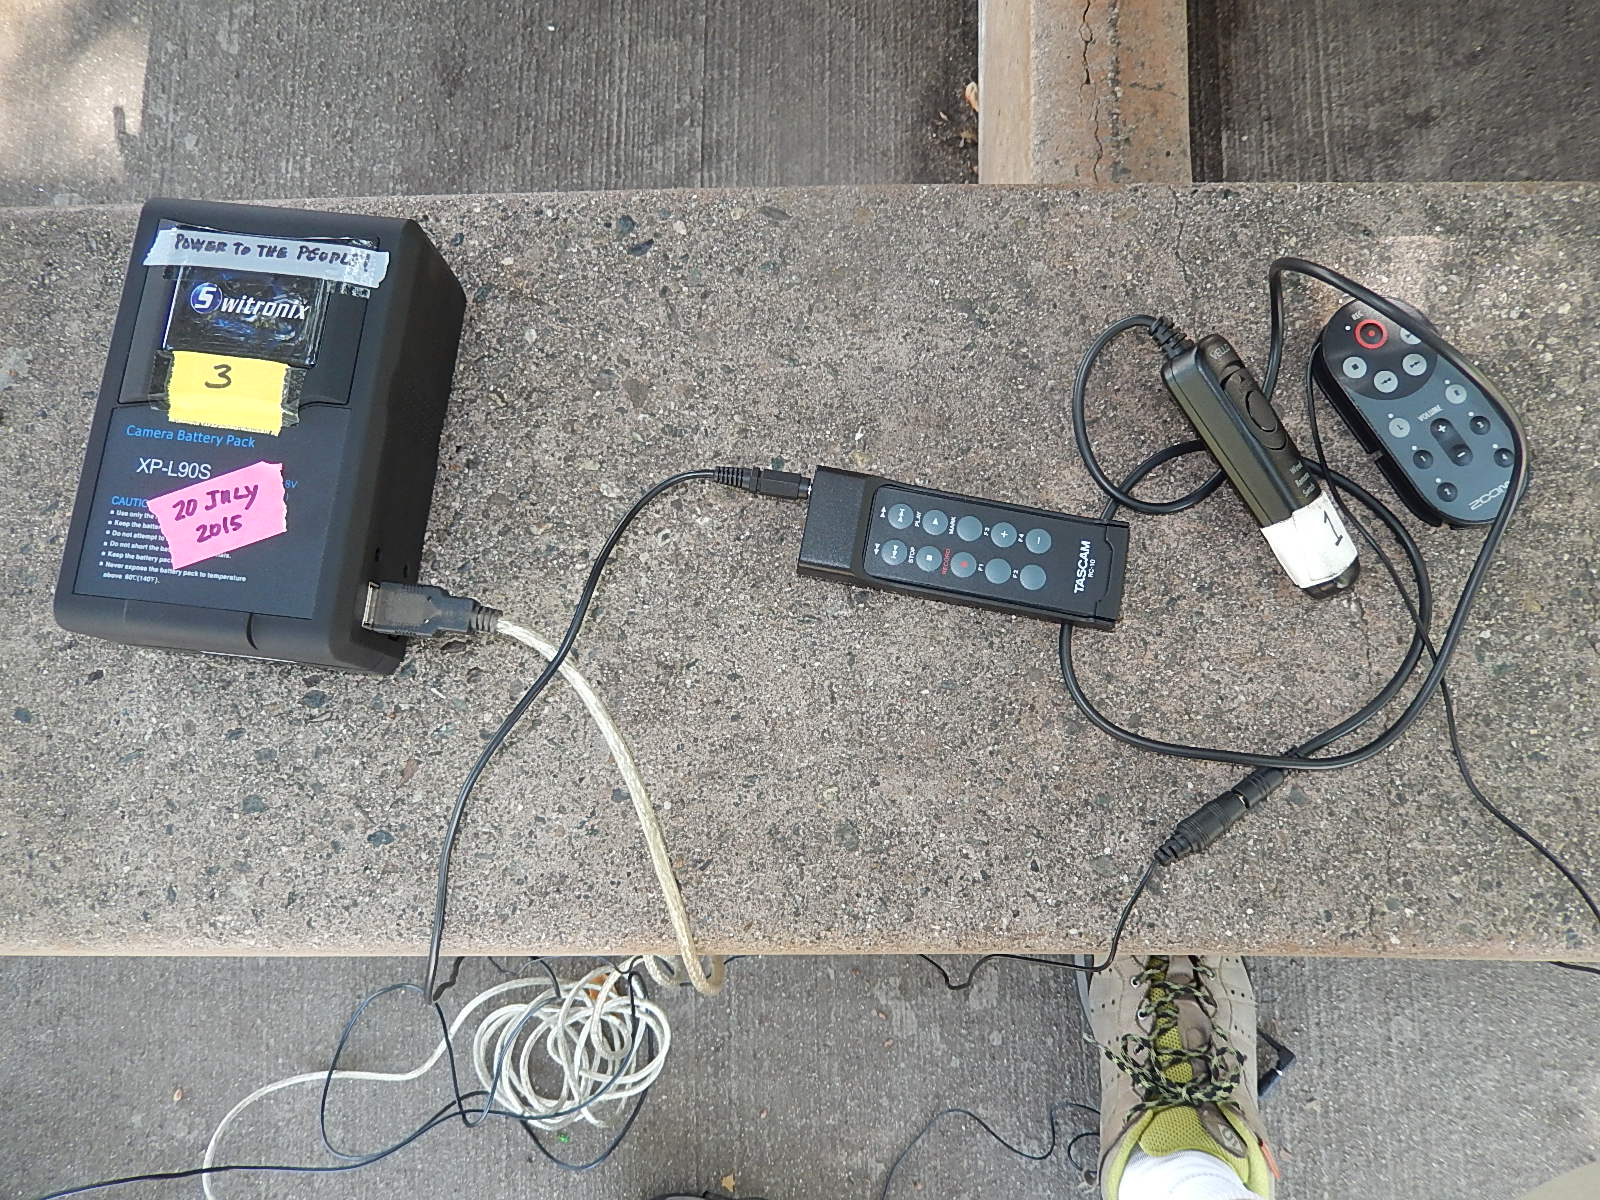
I power the Tascam whenever possible with external sources- either AC or when not available, by use of a brick battery via USB port with 5v delivered to the 15′ extension cable, then to the dedicated recorder USB cable. This is due to the lackluster internal battery life from the DR-70D.
Be sure to download the Tascam ‘s reference manual online if you get this unit- the supplied documentation is pathetic.