Archive for backpacking

Z Packs Duplex: 19.5 OZ of joy in the backcountry

Posted in backpacking, Captain's Personal Log, Photography, Reviews, Travel, ultralight techniques with tags on October 27, 2018 by William Hooks
Duplex_DCF Duomid_Sil Duomid

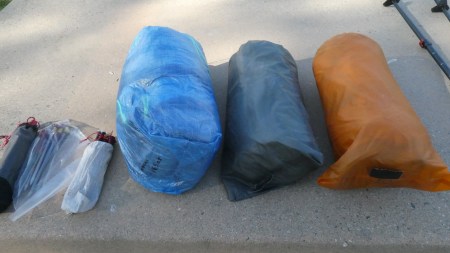
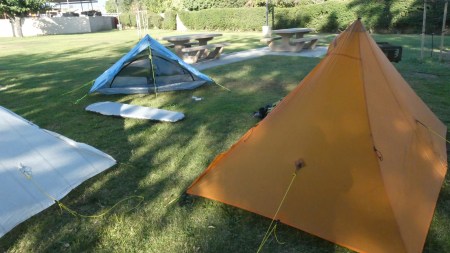
ZPacks Duomid (blue), MLD Duomid DCF (gray), MLD Duomid Silnylon (citrus)

P1000532

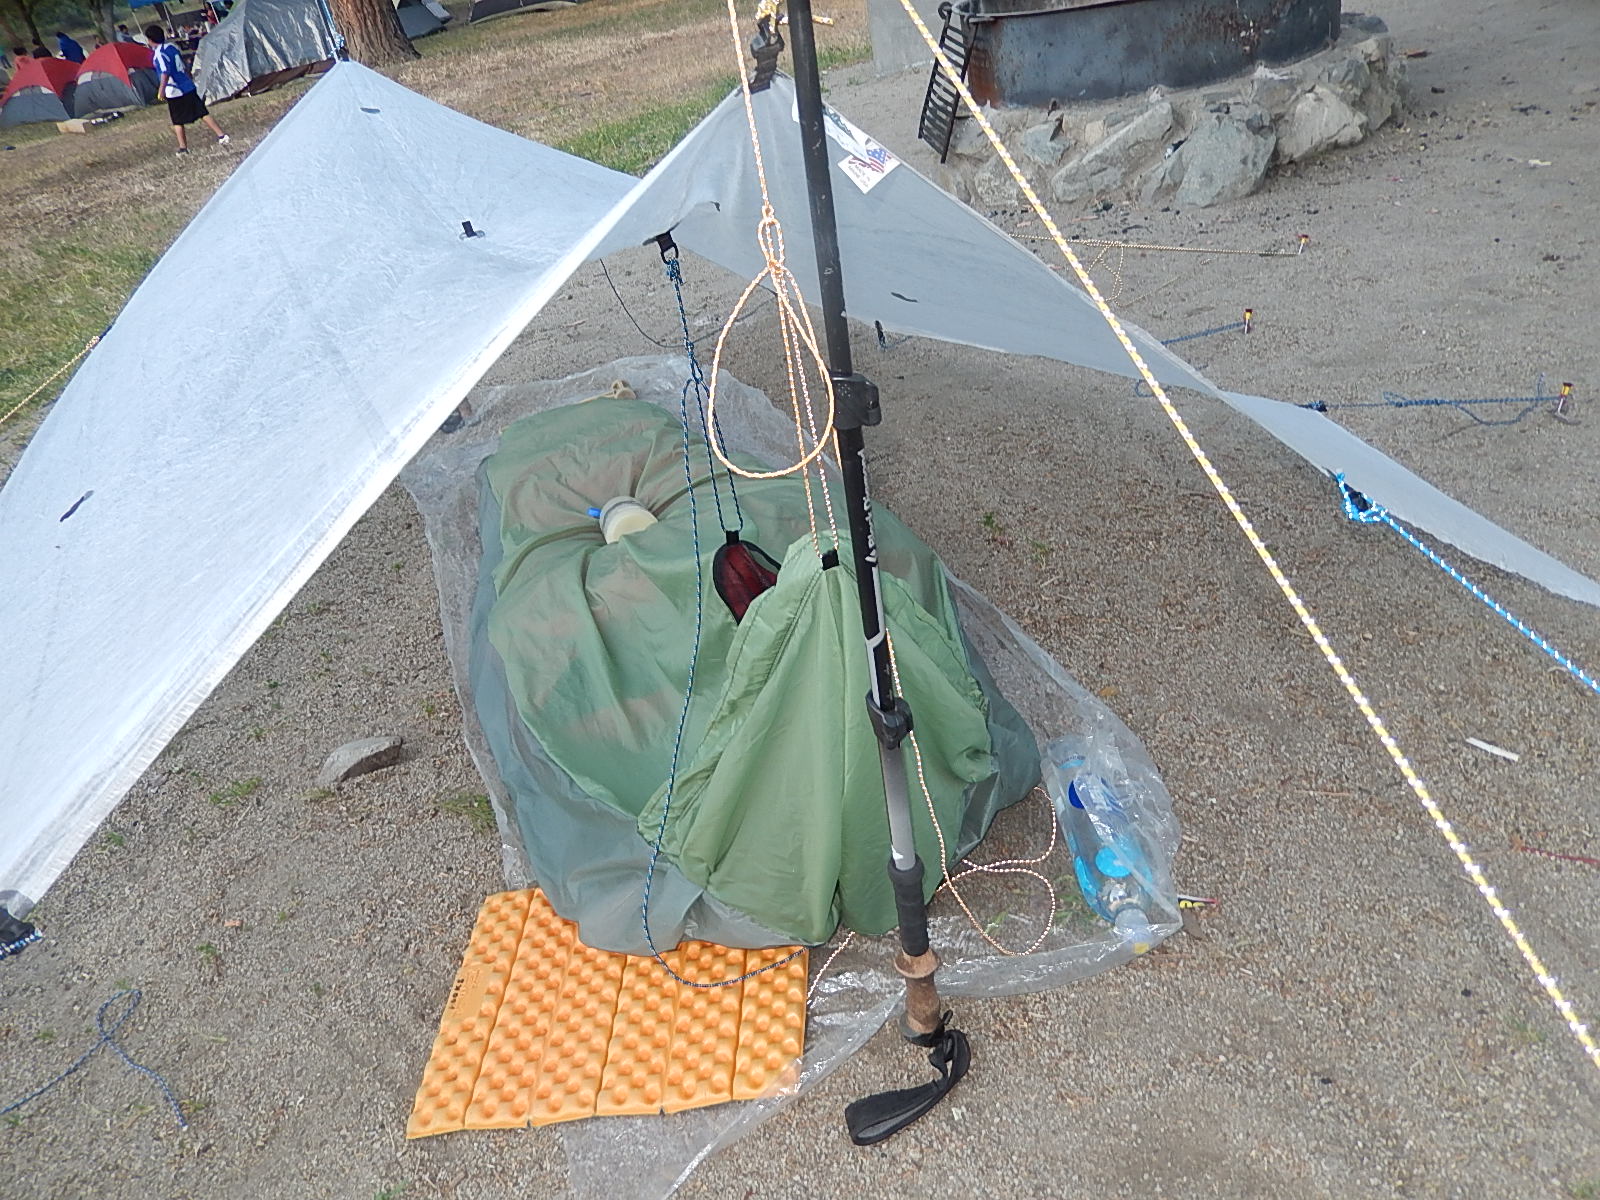
Thermarest NeoAir X-Therm regular pad included for scale

P1000533P1000534

P1000518P1000519P1000520P1000521P1000522P1000523P1000524

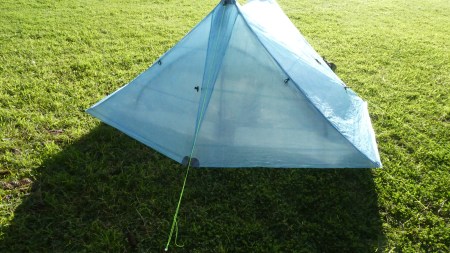
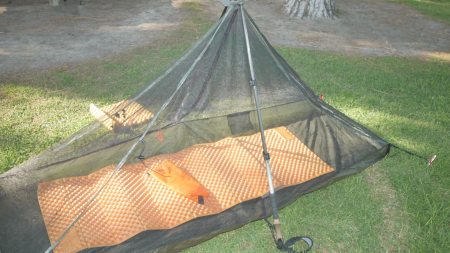
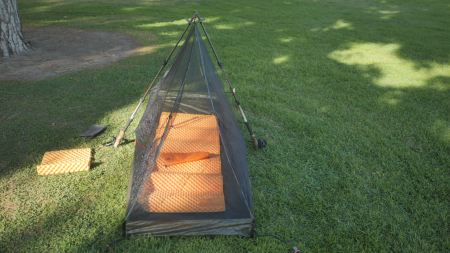
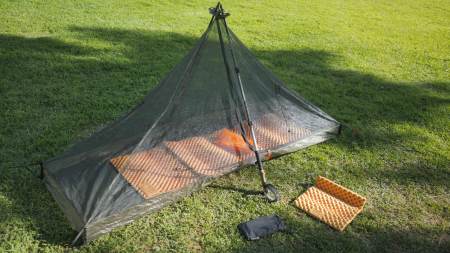
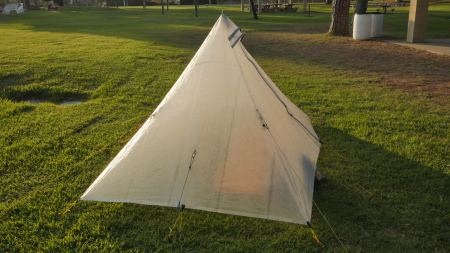
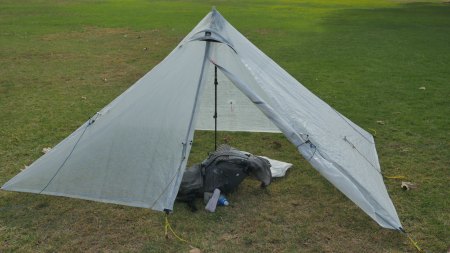
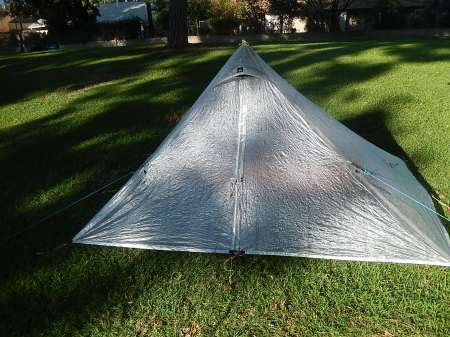
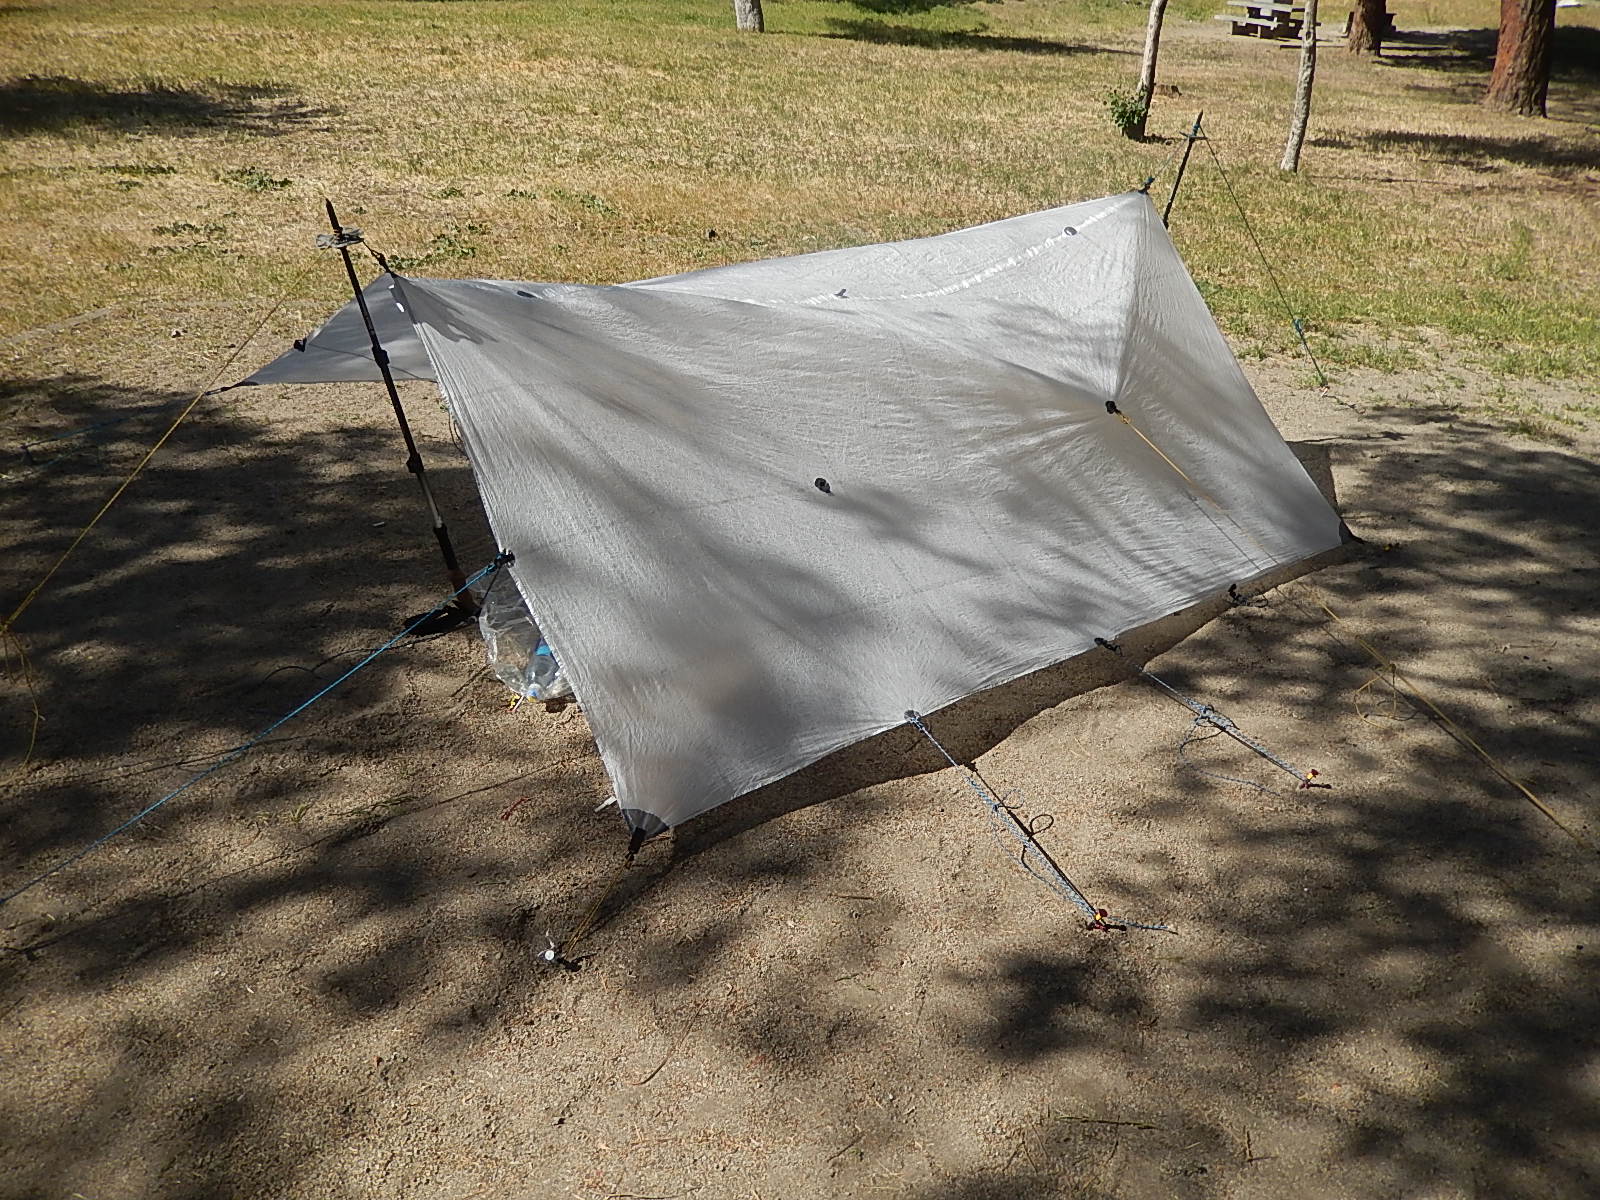
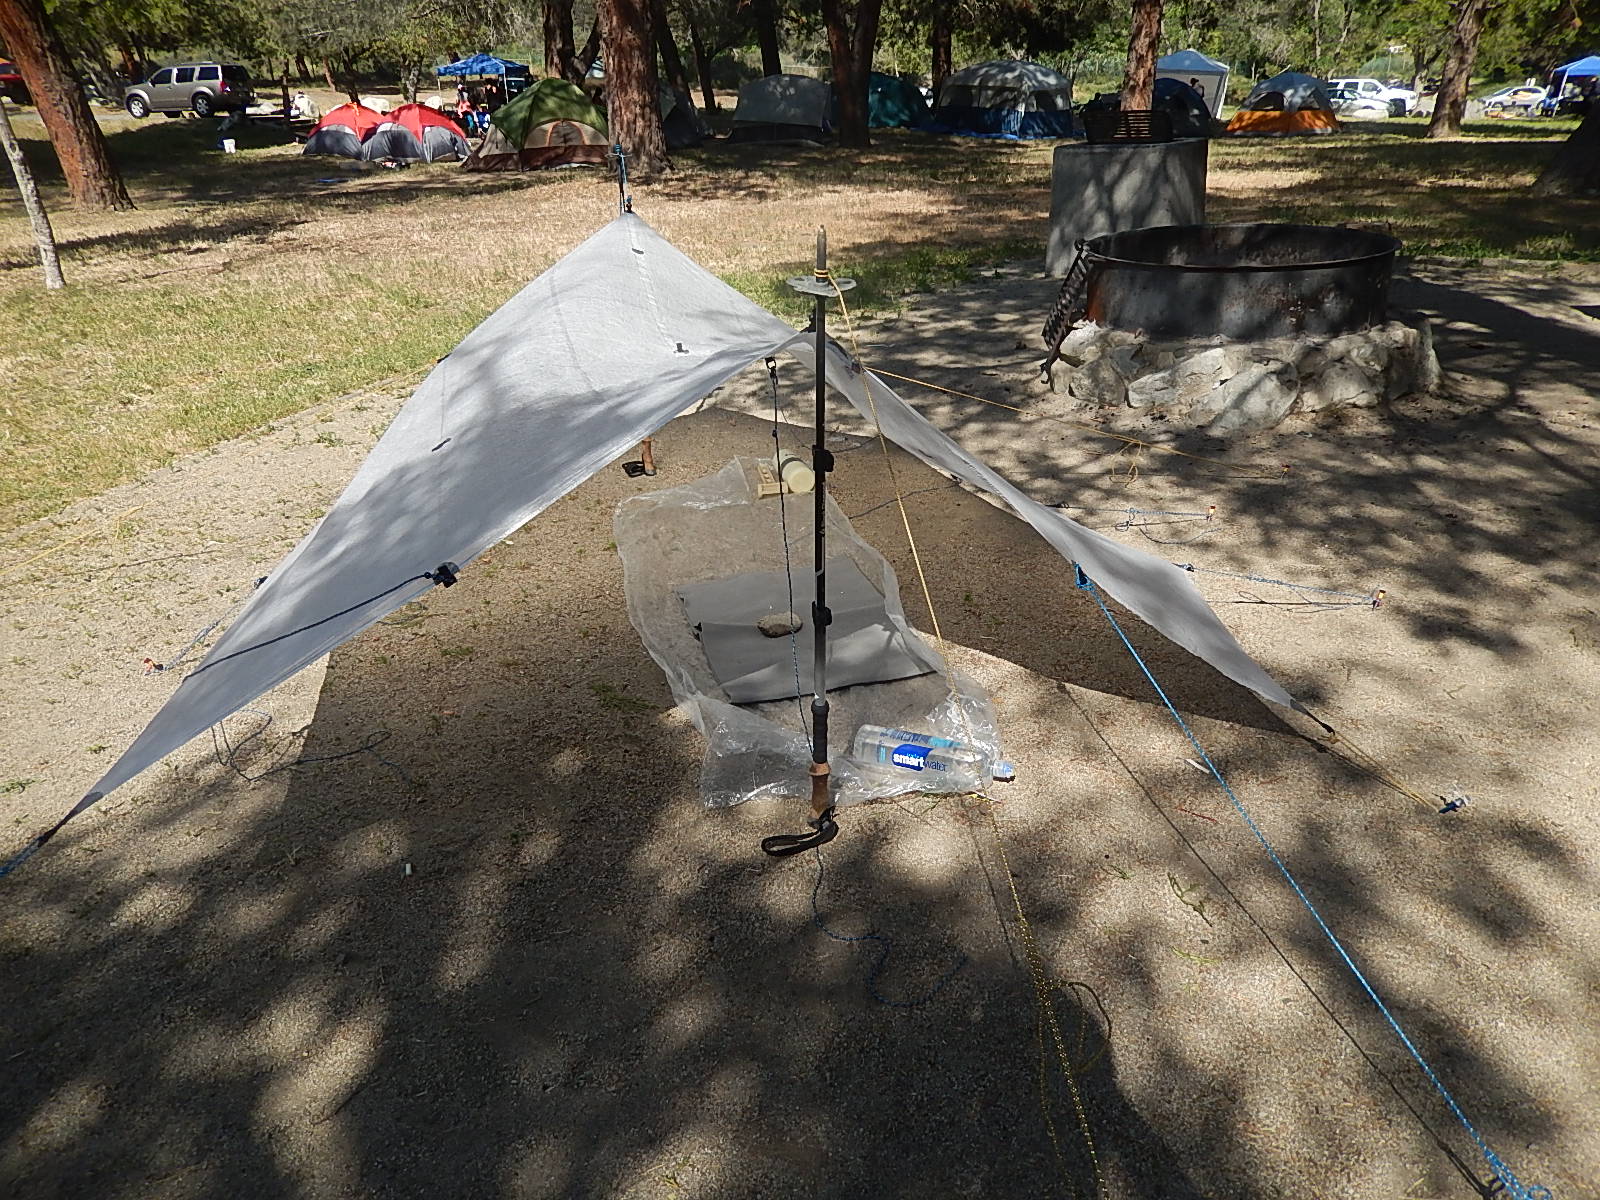
I decided to add this shelter to my selection because it’s extremely light, made of cuben fiber/DCF, provided full protection including from insects, is one-piece and not modular (ie, very simple/fast setup), and has no zippers except for the 2 interior windows. Very spacious- a palace for one, very adequate for 2 persons.

I got one of their bargain bin shelters said to have minor cosmetic defects, for $25 discount ; haven’t yet had any issues with it.

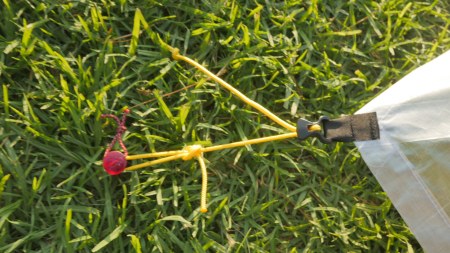
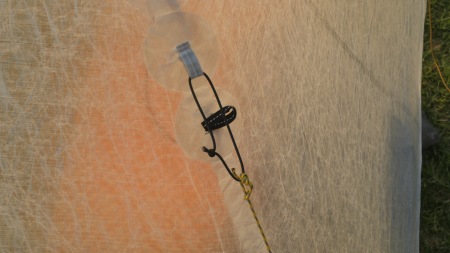
Its weight is similar to those of my Duomids, especially the one also made of DCF. It is not in my opinion a 4 season shelter like  Duomids or my Black Diamond Megalite, and will not handle high winds as well as those; can’t dig beneath it into snow. But for 3 season use-especially where mosquitos or other insects are an issue, and for rain protection- this has become my default tent. No center pole….[yes, I know that the mids can sometimes be used that way]. Unlike mids, this shelter comes pre-rigged with guylines.

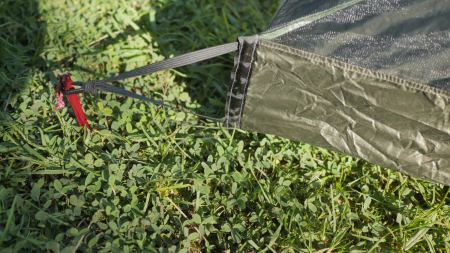
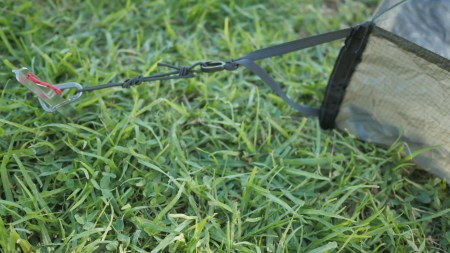
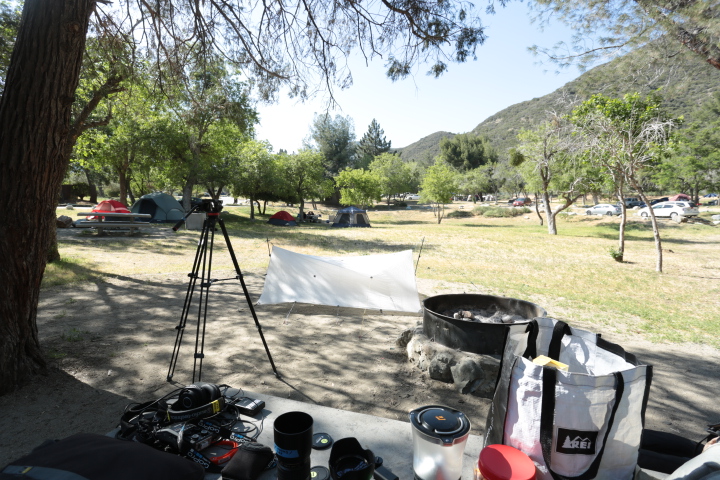
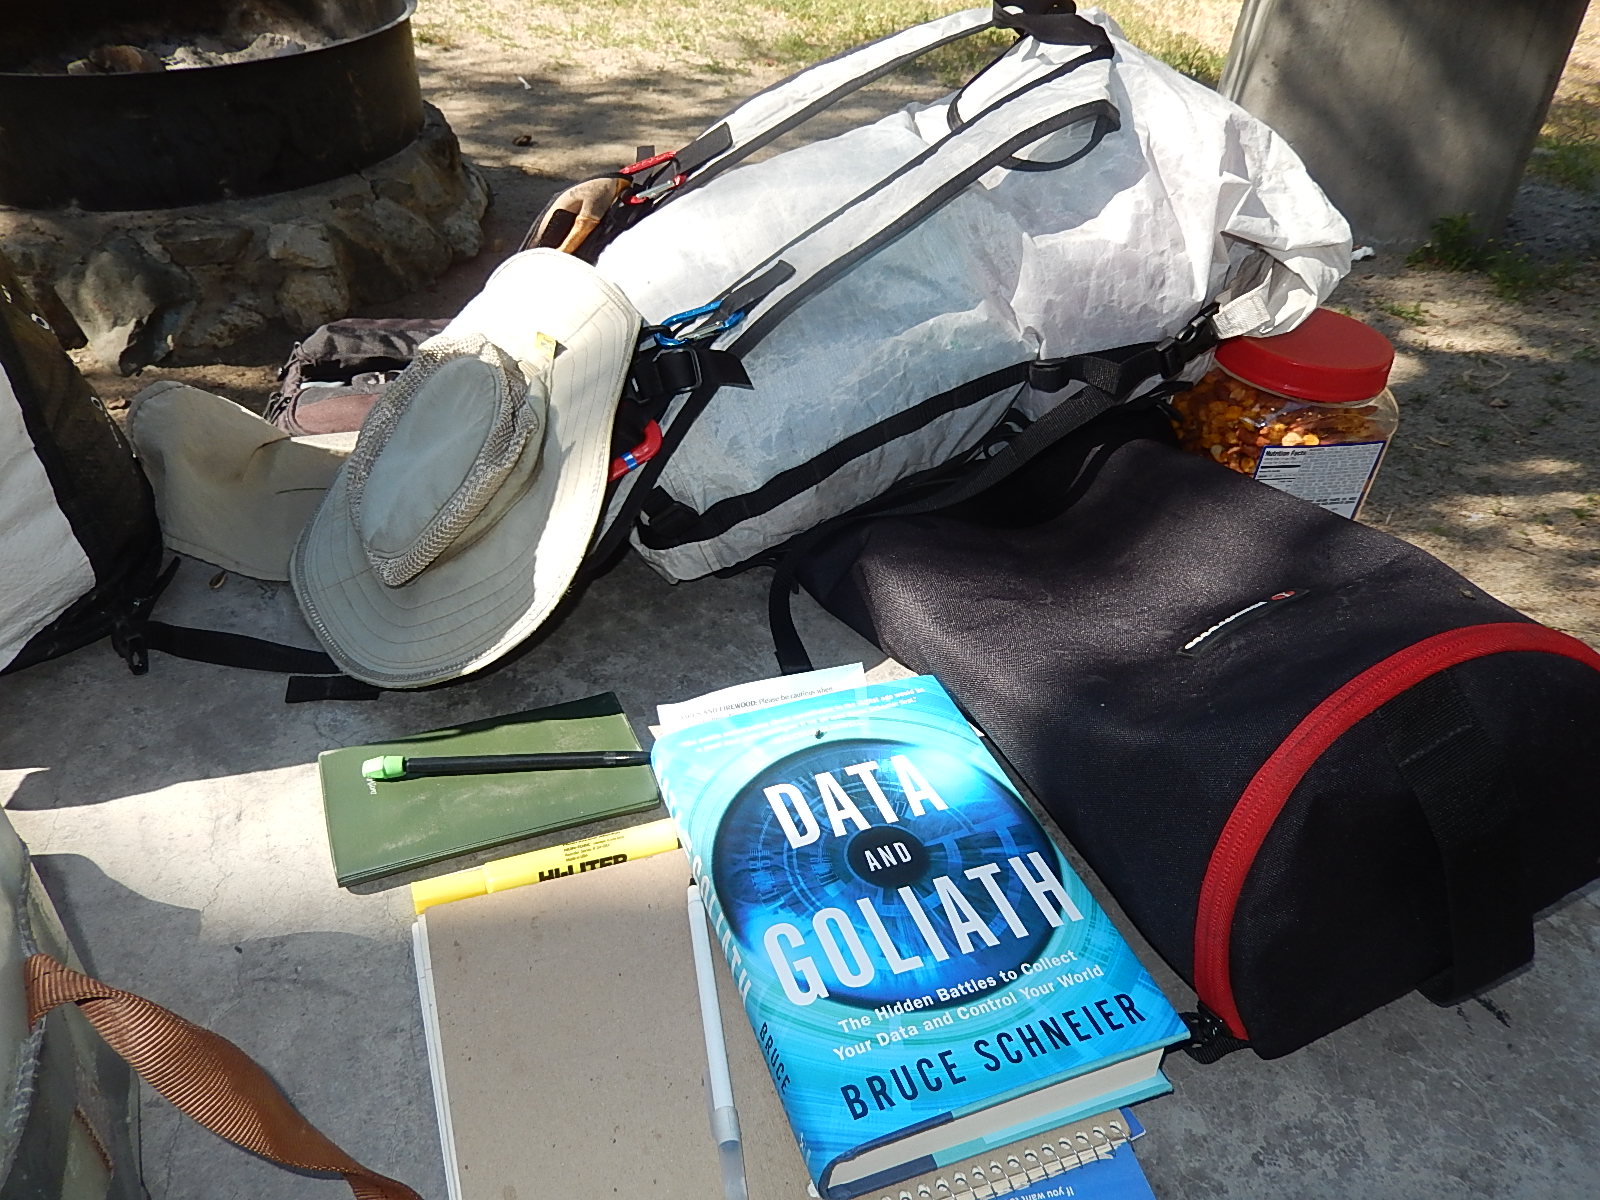
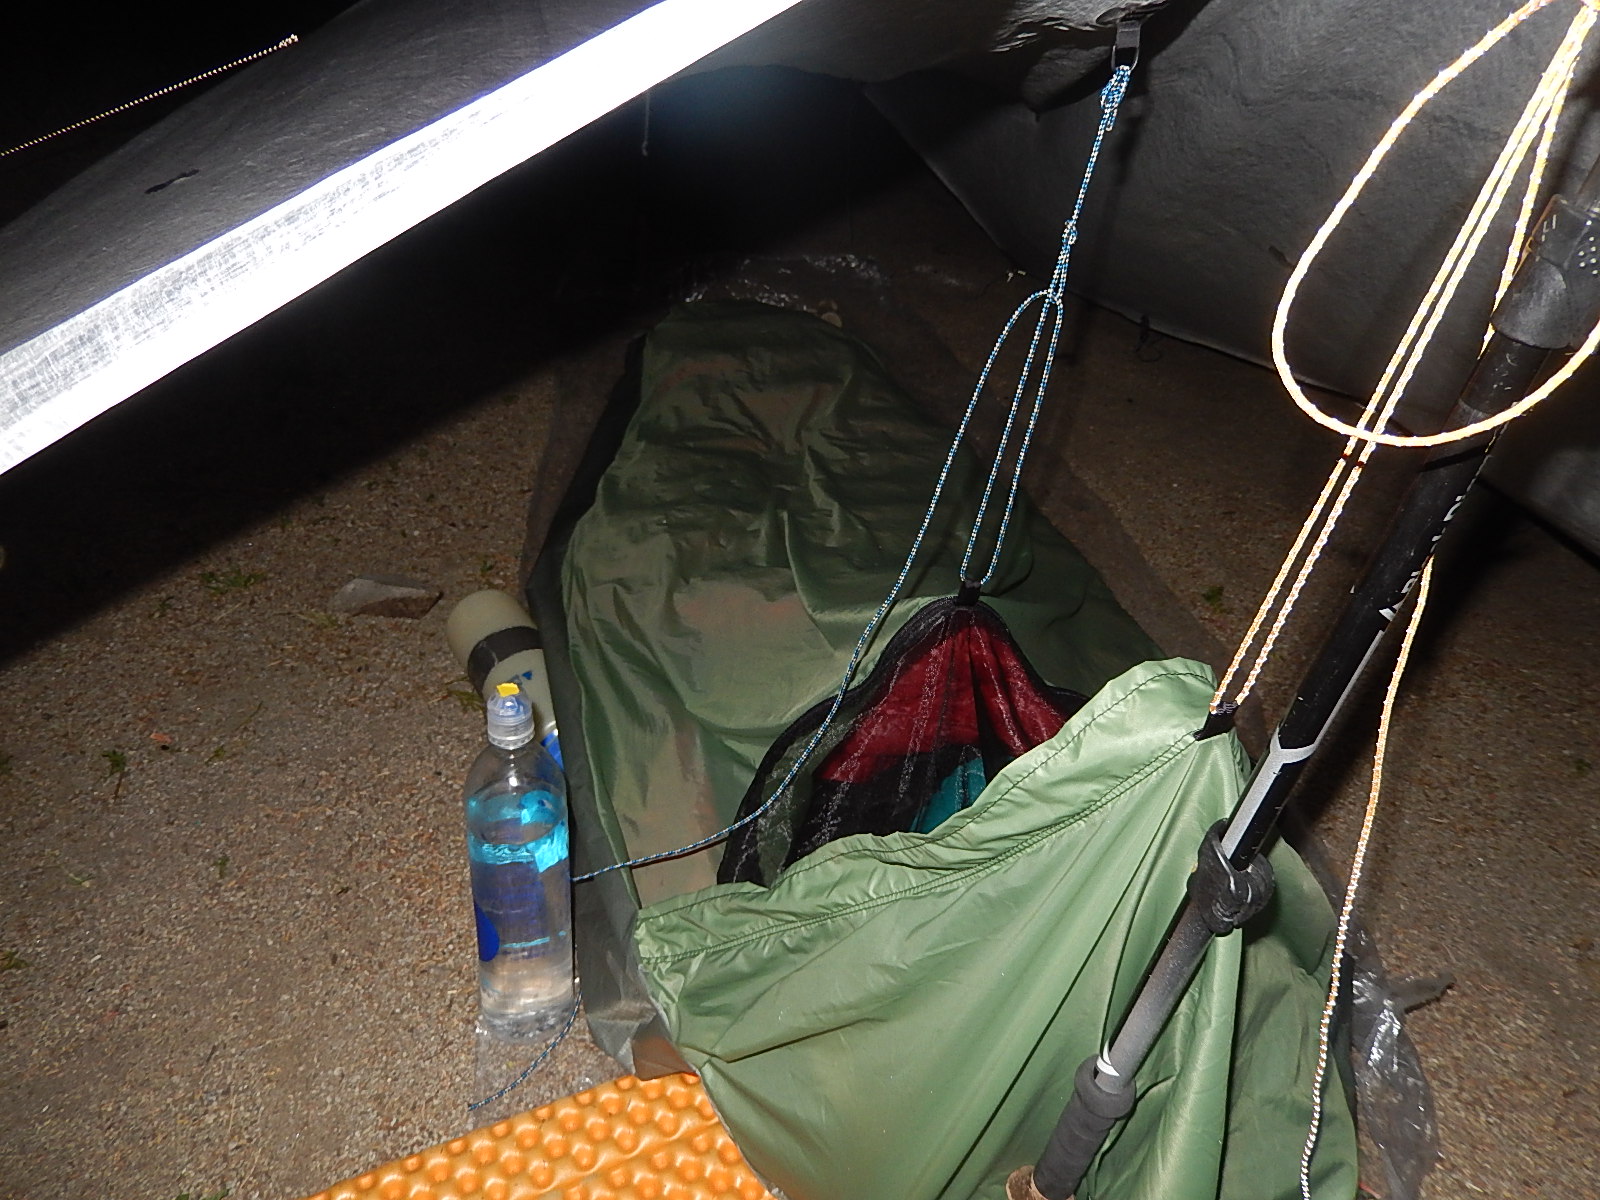
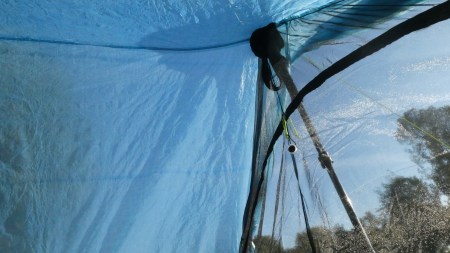
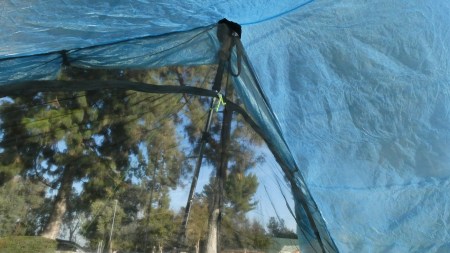
Very important features include the 2 spacious-ventilating- windows also allowing 2 people to use without going over each other;  simple setup with 8 stakes (I’m using 6 carbon ZPacks and 2 MSR Carbon Cores); ease of packing up in wind since it doesn’t require folding. The 2 vestibules are of useful size.

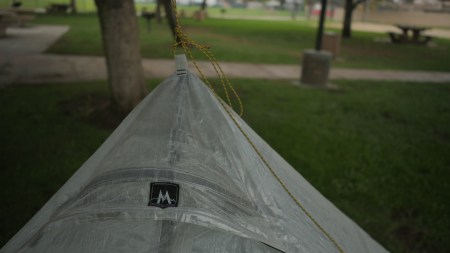
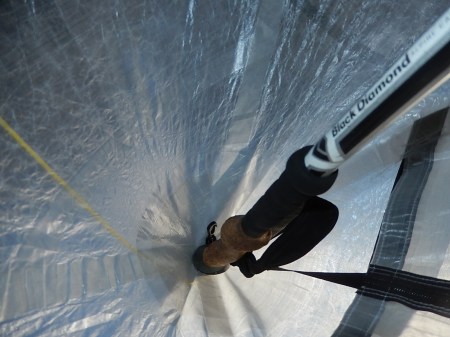
I plan to rig a very light transverse cord over the interior ridgeline to allow hanging of gear, and add a ridgeline micro-LED  as with the Duomids and the Megalite. Eventually I may add the $125 Flex poles, to allow this to be a freestanding tent when I wish; this 2018 model is already set up to adapt for flexpoles.

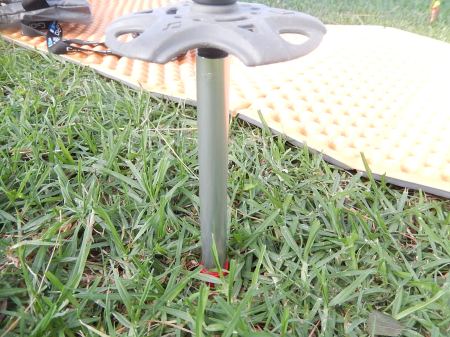
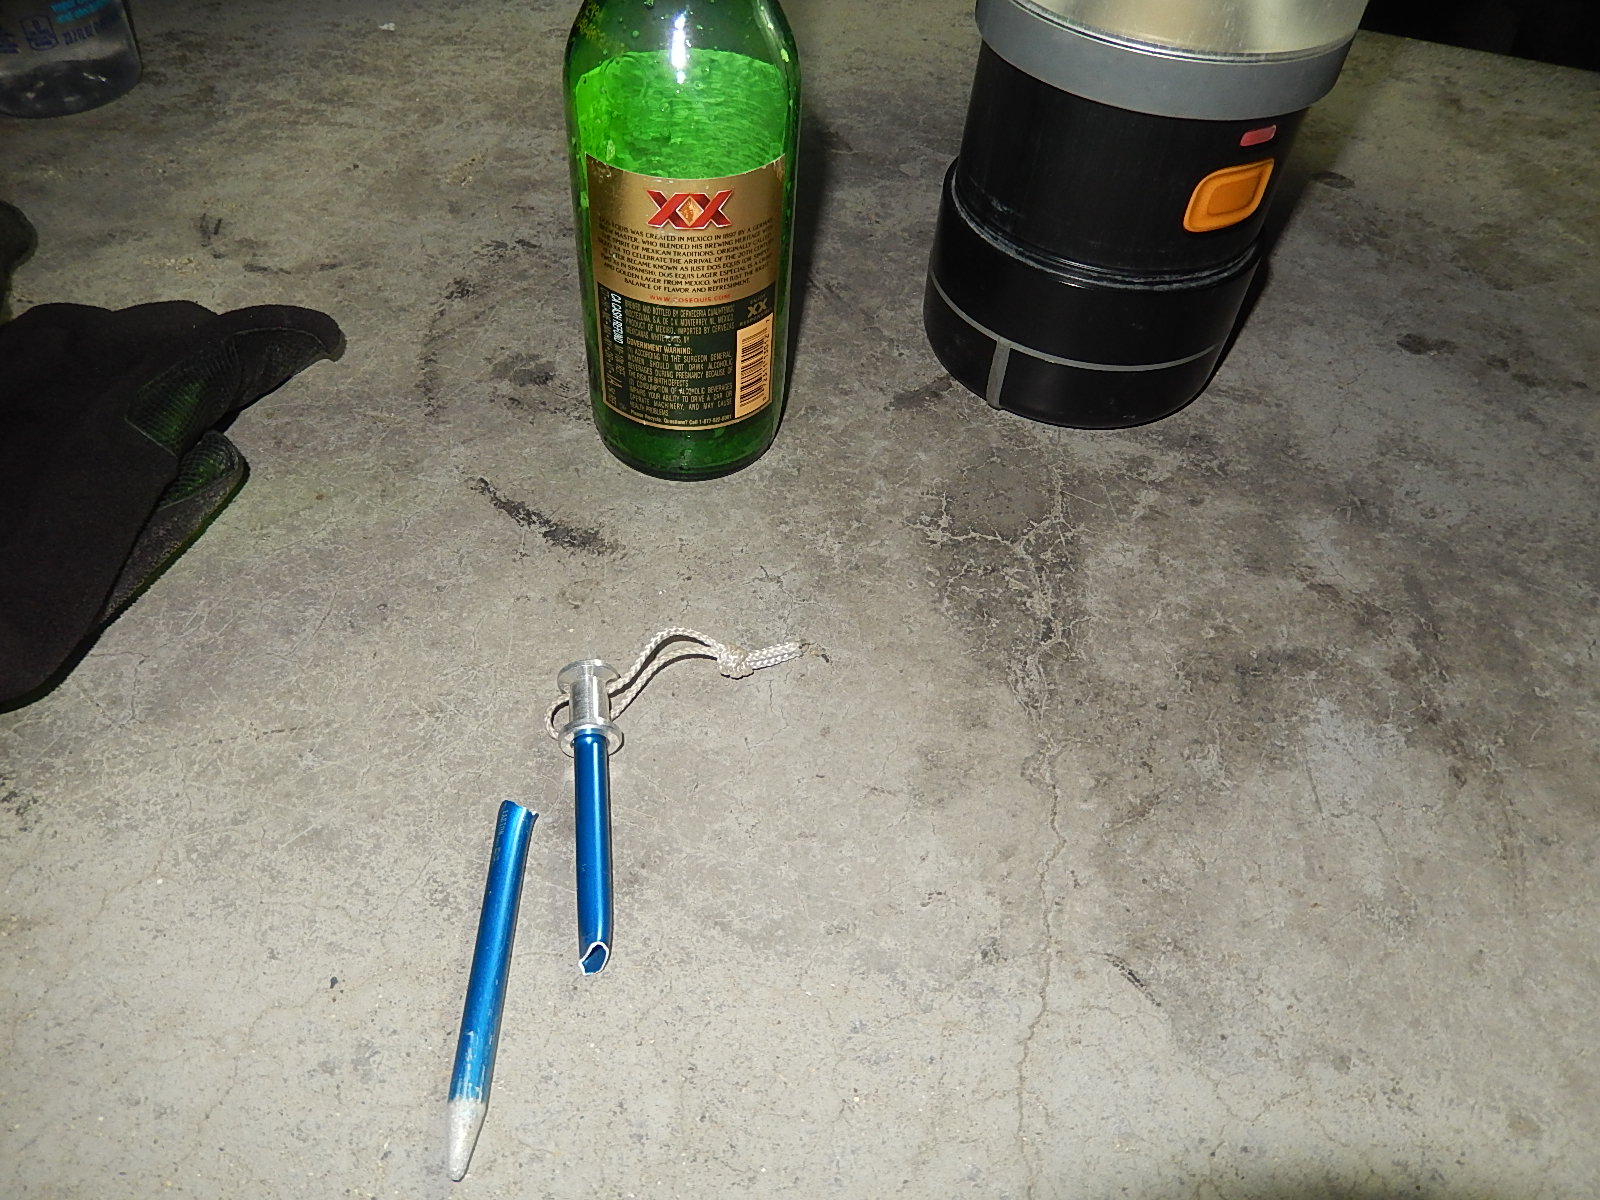
Postscript: it’s useful to realize that for air travel, the ZPacks carbon stakes will pass inspection. Not insigificant…

Using the MLD Solo Inner Net as a mesh shelter @10 oz

Posted in backpacking, Captain's Personal Log, Photography, Reviews, Travel, ultralight techniques with tags , on December 11, 2017 by William Hooks
Solo Sil Inner Net (1)

Elastic pullout to stake

Solo Sil Inner Net (2)

modified pullout

Solo Sil Inner Net (3)

Solo Sil Inner Net (4)

2 poles used to erect shelter

Solo Sil Inner Net (5)

detail of UL cords securing pole tips

Solo Sil Inner Net (6)

side view of shelter-set poles @ 120 cm or longer

Solo Sil Inner Net (7)

detail of shock cord to pole handle

Solo Sil Inner Net (8)

enter via zipper at right

Mountain Laurel Designs Cuben Duomid shelter

Posted in backpacking, Captain's Personal Log, mountaineering, Photography, Reviews, ultralight techniques with tags , on November 10, 2017 by William Hooks

P6770026

P6770028

2 black button-type snaps on the front panel allow closure from inside, releasing tension on the zipper. A third snap is located at the foot of the same panel

P6770031P6770029

P6770019

This shelter height is achieved using a total pole length of c 145 cm, including pole jack

P6770018

4 corner anchors using MSR Carbon Core stakes

P6770017

Detail of mid-corner guylines attached to bungee cords

P6770016both doors openone door open

P6770015

If needed, the attachment clips shown on the interior of the shelter can support a biv sack netting away from the user’s face- as well as use for inner mesh net

vent closeup 2

Large peak vent- from inside, the upper larger wand or strut can be removed to allow closure in storms

front view

The apparent translucency of the cuben material changes with exterior light intensity and direction

half side view

peak view from interior

next to the top of the trek pole is the black, small plastic clip which allows hanging of the inner mesh net- I connect this to microcarabiners to prevent damage to the clip

10 cm pole jack

6 in =10cm pole jack attached to trek pole tip

The Duomid ($440) arrived 5 weeks and 3 days after ordering online from MLD.com, located in Roanoke, VA. The shelter weight is 14 oz for 1-2 persons; I will be writing separately about the modular, Solo silnylon inner tent which hangs within this shell as needed for insect protection ($175).

The tarp was sent with a 10 cm= 6 in pole jack, which extends a standard trek pole if needed for a taut pitch. I find that to pitch near the ground, my 130 cm trek pole alone can work but the pitch is probably more wind-resistant using the extension. I use 12 stakes as standard. The shelter has 8 ground-level tieouts and 8 mid-tieouts, with a peak hang tieout=17 total.

With the option of hanging the tarp from its apex if desired, no pole or stick needed in appropriate locations.

There’s a great deal of  covered space – over 45 sq ft- a palace for one with a huge covered vestibule… I would be fine using for 2 so long as the conditions were not very wet, because one person would need to cross the other inside.  The peak vent is well designed including an integral stiffener, and can be completely closed if need arises.

Being made of Dyneema/cuben, this shelter is extremely light and does not absorb water, with almost no stretch after pitching.  I like that there is adequate privacy, but at the same time I can judge weather as it is translucent and do not need a dedicated window built in.

I will be treating the one front door zipper with care, including closing the base buckle before operating it to reduce stress. I opted to use Zip Care lubricant as well, available from MLD.

First followup review of Panasonic GH4 DSLM camera

Posted in backpacking, Captain's Personal Log, Photography, Photojournalism, Reviews, Travel, ultralight techniques, Video with tags , , , , , , , , , , , , , , , , , on May 11, 2015 by William Hooks

These are my observations after using the camera for a few weeks.

First, I found that operating the nonprotruding video actuation button was not optimal and ended up adding a $10 Vello 2 ft wired remote. This also allows use of very slow shutter speeds and facilitates macro imaging, and I use it for interviews so that I can stay where I’m interacting with the subject- the same as I already do with my H6 Zoom audio recorder.

With a 64GB U3 rated card I’m getting more than 80 minutes per clip at 4K resolution. No more interruptions to reset the camera for interviews…..

Second, after renting the 18-35mm f/1.8 EF Sigma I think this lens will be excellent for general use especially on a rig with follow focus, but too large and heavy for backpacking and [currently] doesn’t support AF; so I will most likely buy the Panasonic 12-35 f/2.8 and 35-100 f/2.8 eventually, and continue to rent this optic.

Third, I’ve settled on Custom settings for the main 3 dial positions= C1 for 4K DCI/24 ‘Cinematic’, C2 for 4K UHD/30 ‘Broadcast’, and C3-1/ C3-2/C3-3 for ‘highest quality ‘ 1080/60 moderate slow motion, ‘smoothest’ 1080/96 slow motion, and 1080/12 undercranked fast motion. NOTE: this camera allows 1080p in slow-motion 96 FPS whether in 30 or 24 cinema modes.

Fourth, as a walkaround lens I ‘m using the Pana/Zeiss Summicron 15mm f/1.7 – a tiny, ultralight lens simulating 30mm perspective in full frame terms. Sharp, easy to maintain relatively great DOF (nice for rapid event action), beautifully integrated with the camera’s capability, easy to carry long distances, and wide without distortion.

Fifth, the Metabones EF to MFT Speedbooster will be a keeper for me as I have 2 Canon FF lenses and it opens the entire Cine and still collection to the camera, as well as lenses from Rokinon /Zeiss/ Olympus/Voigtlander in particular. The ‘free’ additional stop from the adapter has been very welcome in keeping the ISO settings in the optimal range. I find that linking the baseplate/rail system onto the removable Metabones tripod mount provides the clearance I need for attaching the Rokinon 14mm T3.1 and 35mm T1.5 lenses, which have large front elements.

An added bonus is that as long as the adapter is attached, the camera sensor is completely shielded from damage while changing lenses.

Sixth, I’ve evolved a minirig for ENG and light EFP use consisting of an aluminum form-fitting cage, JAG 35 top handle/tripod base plate,carbon fiber 15mm rods, and RedRock Micro spuds/attachment points.

I will be using a $12 basic Nikon F to MFT adapter for AI-S Nikkors for the immediate future, and rent the F/G to MFT Speedbooster when needed.

Entering the 4K universe: Adding the Panasonic GH4 mirrorless camera

Posted in backpacking, Photography, Photojournalism, Reviews, Travel, ultralight techniques, Video with tags , , , , , , , , , , , , on April 25, 2015 by William Hooks

Today I made the quantum jump to begin creating video content in 4K Ultra HD, using the Panasonic GH4 mirrorless camera.

Porque`?

Aside from allowing capture at 4 times the resolution of 1080p [called QFHD or quad-full HD], these are some of the advantages I hope to enjoy while exploring this approach to filmmaking:

Strikingly affordable for its capability- including very inexpensive SD cards at U3 designation

Adaptability of lens mount- can use PL=positive lock, Nikon, Canon, Leica, Zeiss, Sigma, Panasonic, Tokina, Rokinon optics….with excellent Metabones adapters available for Nikon and Canon (the 2 with which I have most past experience)

Very manageable file sizes with compressed 4K/ optional uncompressed 4K: no significant complication of basic postproduction workflow in Adobe Premiere Pro. In fact, it allows expansion of editing choice because of ‘zooming’ into shots to achieve true 1080p derivative shots when needed, after completing of shooting

Practical video capture for very long periods exceeding 29 min US limit (as multiple files), with appropriate media

2 included Cine picture profiles: Cine Like D (flat somewhat like LOG ) and CineLike V (vivid) for relatively painless color grading

Electronic viewfinder (excellent when it’s too bright to see the touch screen, for example) and tilting touch screen control of many functions, very user- friendly features

Small form factor with very light weight and bulk-great for POV, aerials (or just mix files from GoPro Hero 4 and later!), backcountry applications and covering events where mobility may pay substantial dividends- and less stress on monopod heads.

Native monitor features dedicated to video production such as zebras, focus peaking, Synchro Scan, Variable Framer Rate for fast motion and slow motion; timelapse can be created in-camera; stop-motion animation;STMPE timecode; 10-bit option for 4:2:2 HDMI output,luminance and master pedestal level control, advanced audio control and color bars.

Silent control of settings during capture

Fantastic slow motion at up to 96 FPS in Full HD

WiFi control

Option of adding a very capable interface unit beneath the camera, the YAGH, incorporating 2 XLR inputs and 3G-SDI connectors for output

Extraordinary battery life, capture all afternoon on one charge

Highly customizable function buttons

There’s more.. but I ‘m not even going to start on the ‘stills’ side.

So the next journey begins. I rented a Tokina 11-16mm f/2.8 and Nikon F mount Metabones Speedbooster for the weekend.

Applewhite camp, CA

Posted in backpacking, Photography, Reviews, Travel, ultralight techniques, Video with tags , , , , , , , , , , , , , , , , , on April 19, 2015 by William Hooks

Spent a full day and evening at Applewhite elevation 3300 ft, in the Lytle Creek region of southern CA. The Titanium Goat Ptarmigan biv sack was excellent underneath my HMG square tarp, in a 40 deg F Marmot Atom sleeping bag. Hardly even noticed the smoke from 10 campfires blazing around me… should have chosen site #2…..


5D3A5016 DSCN1992 DSCN1993 DSCN1994 DSCN1995 DSCN1997 DSCN1998 DSCN1999 DSCN2000 DSCN2001 DSCN2003 DSCN2006

Managed to break a tubular tarp stake. I rarely use them unless car camping, prefer MSR Mini-Groundhogs/titanium skewers/MSR Carbon /Cores for backpacking.

Enjoyed getting some field video refinements finished.

Ryan Campground, Joshua Tree National Park

Posted in Captain's Personal Log with tags , , , , , on February 14, 2015 by William Hooks

DSCN1934 DSCN1935 DSCN1936 DSCN1937

Spent a wonderful cool sunny day in the park, hiking a portion of the Ryan Mountain Trail then camping with 2 new friends: Tom and Mo Holmes from northern CA. They are in Aptos, just south of Santa Cruz, and I plan to visit them next week during my road trip north.

I’m trying to adjust to the loss of my father and have been fortunate to have help from so many. To all of you: my gratitude.

Biofuel everywhere: field cooking with a handful of small twigs using the Solo Stove

Posted in backpacking, mountaineering, Photography, Reviews, Travel, ultralight techniques with tags , , on January 7, 2015 by William Hooks

DSCN1819 DSCN1820 DSCN1822   I passed a fire ring someone set up, east of Inspiration Point and decided to cook with dead wood in the shade of pines, at 7300 ft elevation in the local mountains west of Wrightwood.

I guess you could say that I found the right wood (heh), as the fire was very easy to start and maintain after processing some limbs with the GB Mini hatchet (12 oz). I really like the Solo Stove: simple, light, hot, efficient using very little wood, easy to dispense with coals and ash. I carry no fuel with me.

Some operating tips:

-Do not overload the stove with large pieces of wood. I recommend 3-5mm diameter twigs about 10 -12 cm in length and have somewhat larger-diameter wood available to sustain the fire, in the 6-10mm range.

-This stove is very hot to handle after use. I ‘ve had great success using Petzl Cordex leather belay/rappel gloves (which do dual use for climbing) in picking up the stove to empty the coals, as well as manipulating the Snowpeak 900ml pot which is normally used for cooking.  One useful feature is that the stove base remains cool due to the design, also preventing scorching of the underlying support surface.

-My aluminum MSR stove windscreen works beautifully with the Solo and Emberlit biomass stoves, reducing heat loss and improving boil times in more adverse conditions.

– I typically use either a firesteel, lighter or match to light whatever selected tinder is available, whether natural or synthetic. My preference when speed is more important is to use Coghlan prefab tinder, finding that about 1/2 of a unit is enough for most purposes.

I like the Exotac FireRod and Swedish Light My Fire Scout v2 /Fireknife firesteels in particular; integrated rod into the handle of the knife is very useful and light, and the knife’s spine is specifially designed to be used with ferro rods. The ergonomics are excellent with the Swedish models and the larger rod diameters, especially with the Exotac, are reassuring as I’ve fractured several smaller rods. To obtain the Exotacs as well as my GB Mini-hatchet, I contacted  Oso Grande Knife & Tool Co. Sport Chalet and REI carry various Light My Fire items.

My 2 wood-burning stoves for field use

Posted in backpacking, mountaineering, Photography, Reviews, Travel, ultralight techniques with tags , , , , on December 31, 2014 by William Hooks

DSCN1804DSCN1805DSCN1806Solo stove in useDSCN1722 DSCN1794 DSCN1795 DSCN1798 DSCN1801 Solo wood stove in carry bag

These 2 wood stoves feature completely different design concepts, but share some commonalities: first, they allow more controlled  wood burning than open fires especially regarding the avoidance of stray embers and sparks; second, they’re hotter and reduce boil times in the right conditions; third, they increase burning efficiency with less fuel needed and less smoke produced. And after all: I’m a lifelong non-smoker…..and I ‘m a Californian where special attention must be paid to fire safety.

So no fuel needs to be carried; can’t run out of fuel (in the proper terrain); both store very compactly. The Emberlit is 5.4 oz and packs completely flat, the Sol is 9 oz and it fits into my cook pot needing no assembly.

Revised and updated my 3 1/2 season backpacking list today

Posted in backpacking, mountaineering, Photography, Reviews, Travel, ultralight techniques, Video with tags , , , , , , , , , , , , on December 19, 2014 by William Hooks

I’ve added the super ultralight (SUL) Hyperlite Mountain Gear Summit pack at 12.7 oz, with correspondingly light MSR Carbon Core /titanium skewer stakes for shelters.

My current pack for an overnight trip including water, food, and an alcohol stove system weighs about 10 pounds, so I wear my Nikon camera under one shoulder strap- pull out 2 trekking poles- and go. This setup will allow me to stay out to conditions of about 25 degrees F.